
How to Set Up a Live Chat Widget in Under 10 Minutes (No Developer Required)
You can have a live chat widget running on your website in roughly five to ten minutes: sign up for a free trial, choose your colours and greeting message, paste one snippet of code into your site (or install a plugin if you're using Shopify, WordPress, or Webflow), and send yourself a test message. No developer, onboarding call, or credit card is required to get started.
That estimate assumes a few things are already true: your site is published and live (not sitting in a staging environment), you have admin access to your CMS or the ability to edit your site's code, and your workspace sign-up doesn't get held up by an email verification step. If any of those aren't in place yet, budget a little more time — but the actual live chat widget setup really is that quick.
I know that sounds almost too simple for something that usually gets pitched as a whole "project." But that's the point. A lot of live chat software was built with the assumption that you've got a dedicated IT team and a free Tuesday afternoon for a vendor call. If you're running a five-person startup — in London, Leeds, or anywhere else in the UK — you probably have neither of those things, and you shouldn't need them just to let customers ask you a question.
Let's walk through exactly how to add a live chat widget to your website, step by step, including where setup can slow down and what to do about it.
Why Live Chat Widget Setup Speed Matters for Early-Stage Teams
Here's something worth sitting with: every hour you spend configuring software is an hour you're not spending talking to customers or building your product. When you're early-stage, that trade-off isn't abstract. It's the difference between shipping a feature this week or pushing it to next.
Most enterprise-grade customer support software assumes you've got a development team on standby and a calendar with room for a 45-minute onboarding call. Startups rarely have either. You're probably the founder, the support agent, and the person who also needs to fix the checkout bug before lunch.
Slow setup is often a signal, not a coincidence. If a platform takes hours to configure, it's usually because it was built for complexity you don't have yet — custom workflows, layered permissions, and integrations you'll never touch. Faster setup generally means the product was designed around a smaller team's constraints from day one, rather than retrofitted for them later.
That's the idea behind Sonny, the tool I'll walk through below. It was built around the premise that a shared inbox for live chat and email shouldn't require a project plan to launch. Worth noting upfront: Sonny bills in US dollars, so if you're in the UK, check the pricing page to see whether VAT applies at checkout before you commit beyond the trial.
What You'll Need Before Installing a Live Chat Widget
A quick checklist so you're not caught out mid-setup:
- Access to edit your website's code, or admin access to Shopify, WordPress, or Webflow
- A published, live version of your site — not just a staging draft
- An email address for your workspace, plus a few minutes to verify it if prompted
- A rough idea of your brand colour and a greeting message (or five minutes to write one)
With those in hand, here's the realistic time budget: account creation, roughly one to two minutes; widget customisation, one to two minutes; installation, two to three minutes; testing, one to two minutes. Call it five to ten minutes total, assuming nothing unusual happens with caching or permissions.
Step 1: Create Your Live Chat Software Account
- Start a free trial. Sonny currently offers a seven-day trial with no credit card required to begin — worth double-checking on the current pricing page, since trial terms can change.
- Enter your email and a workspace name. This becomes your team's shared inbox home, where live chats, email tickets, and internal notes will live going forward.
- Invite your teammates now, not later. Sonny uses flat-rate pricing rather than per-seat billing, which removes the usual hesitation about adding people. Confirm current pricing details on the site before assuming a specific number, since plans do get updated.
- Skip any “book a demo” prompts if you don't need one. Self-serve sign-up means you shouldn't be blocked from seeing the dashboard until you've talked to sales. If a tool insists on that, it's often a sign the rest of the onboarding will move at the same pace.
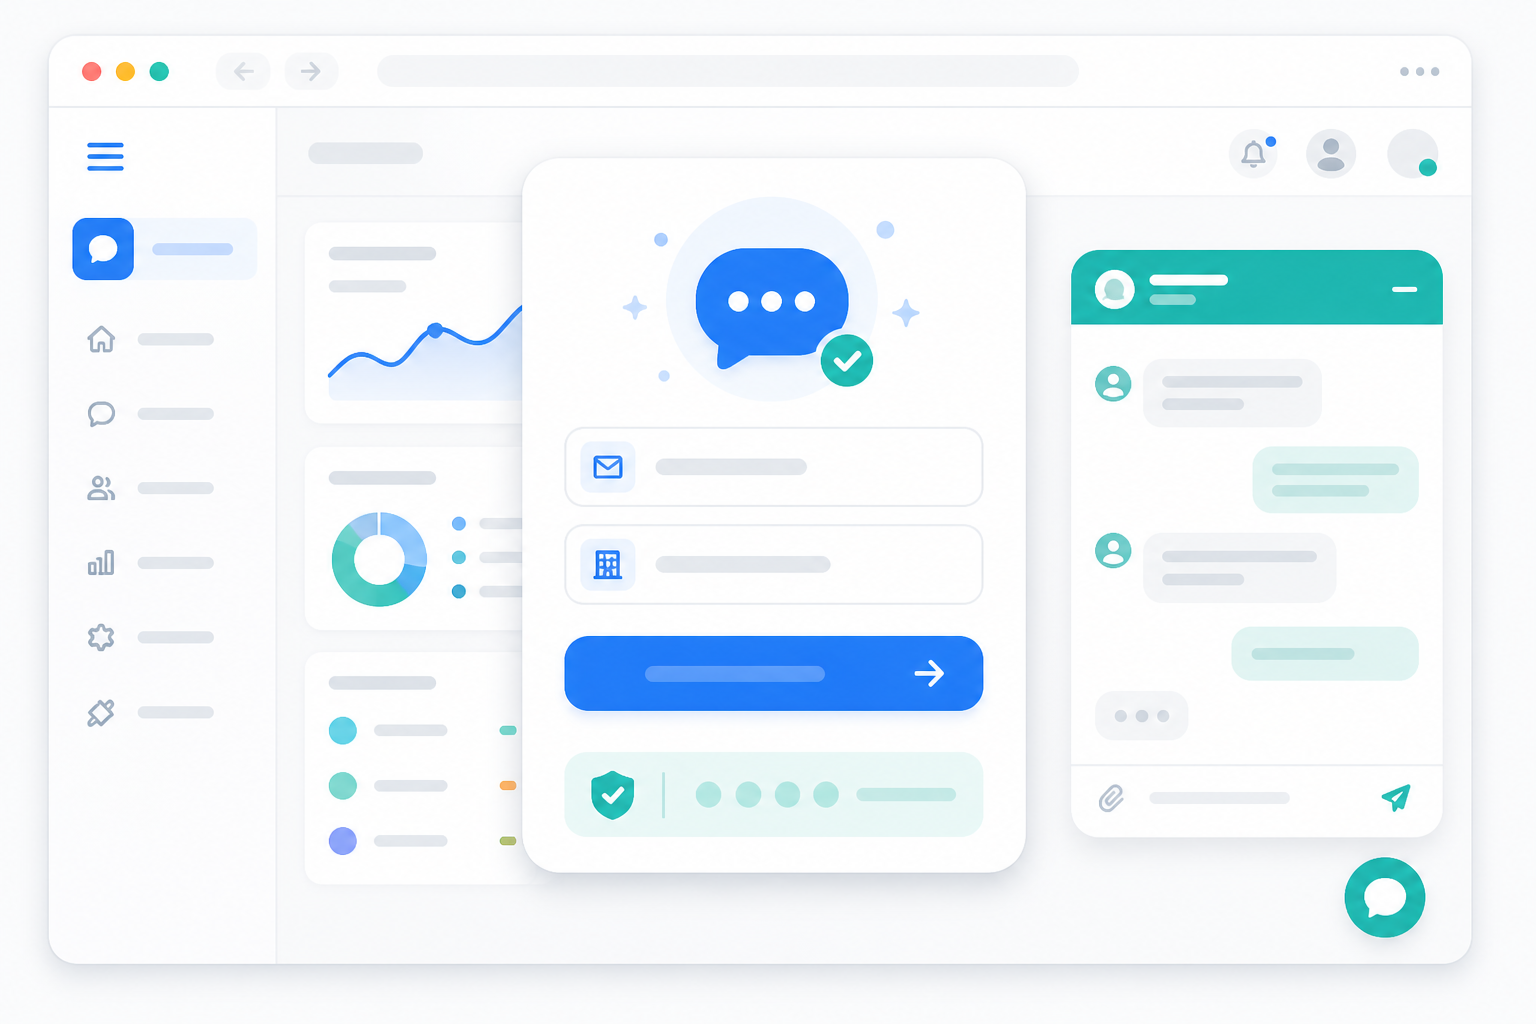
Once this is done, you have a workspace. No sales call, no discovery questionnaire about your support technology stack.
Step 2: Customise Your Live Chat Widget Appearance
This is where the widget starts to feel like your support, not a generic plugin.
- Choose your brand colour and widget position. Bottom-right is the default and works for most sites. If you've got a cookie consent banner competing for the same corner — a common issue for UK sites needing GDPR-compliant consent tools — try bottom-left instead.
- Write a greeting that sounds like a person. The default “How can I help you today?” is functional but forgettable. Something like “Hey! Got a question about pricing?” tends to feel warmer and more specific — though this is a judgement call worth testing on your own audience rather than treating as a guaranteed conversion booster.
- Consider adding a real photo instead of a generic icon, if the platform supports it. A face can feel more approachable than a speech-bubble logo, though this is a preference worth trying rather than a hard rule.
- Set your office hours and an away message. This is easy to forget, but it matters: a widget that says “we're online!” at 2am when nobody's actually there can undermine trust faster than having no widget at all.
- Turn on AI-assisted suggestions if you've already got help docs. If Sonny's copilot feature is available on your plan and you have a knowledge base or FAQ page, it can suggest answers to your team based on that content. Treat this as a head start for your team, not a fully automated reply system — check the current feature set on Sonny's site, since AI capabilities change quickly across most customer support tools.
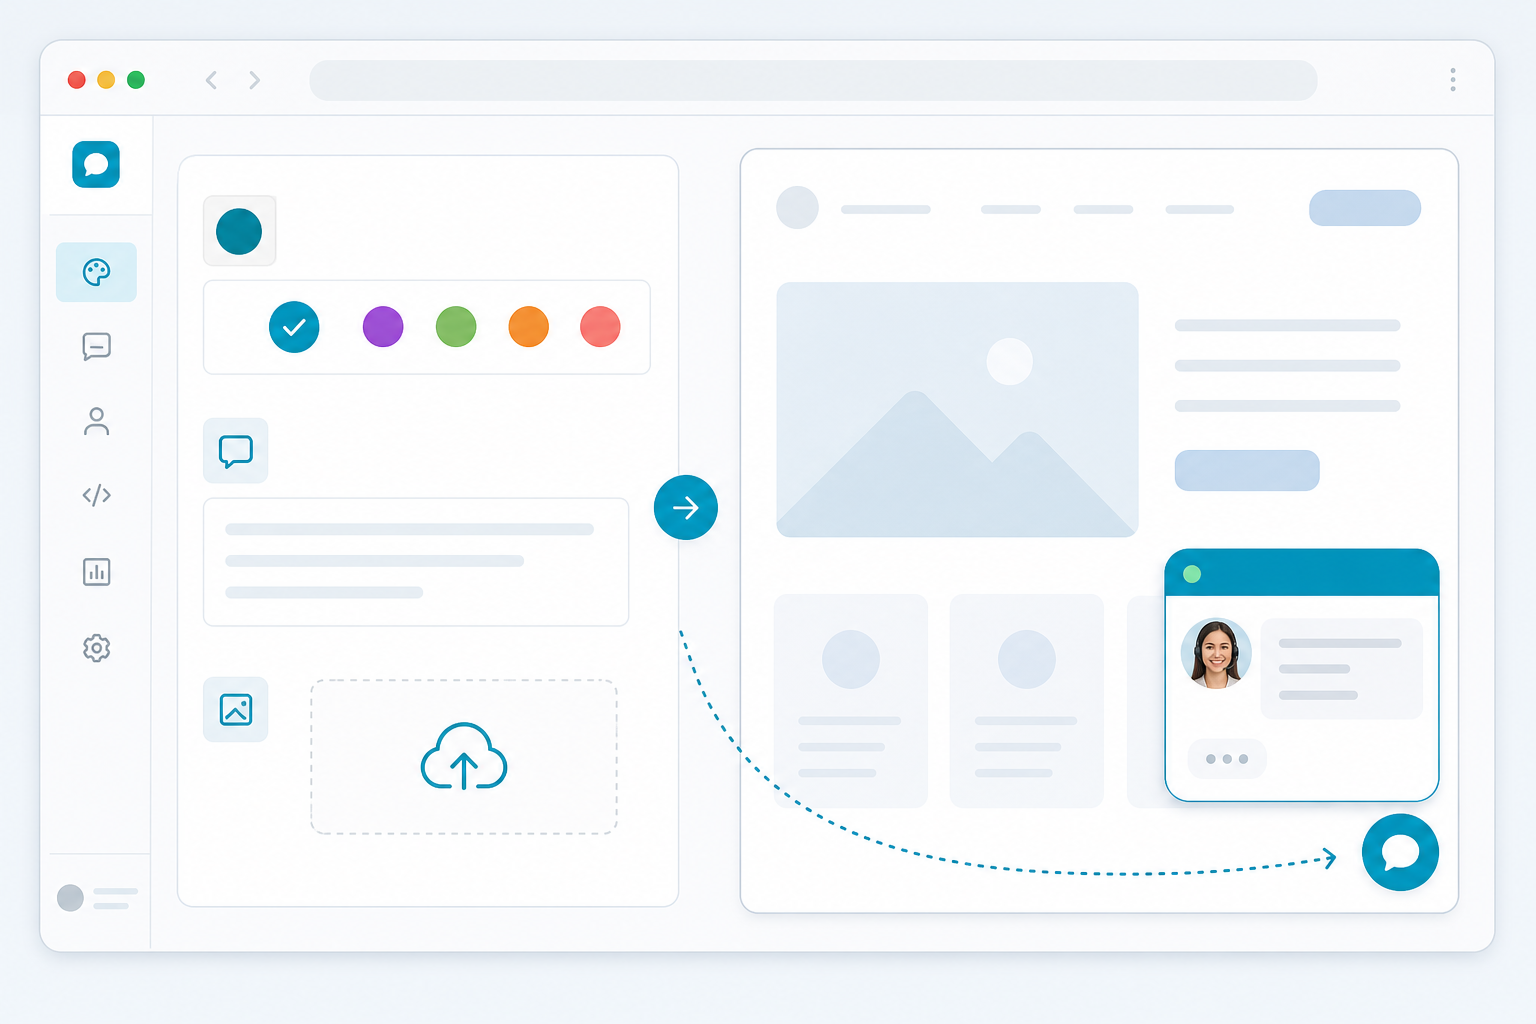
A few minutes here goes a long way. This layer shapes a visitor's first impression of your support more than any automation you add later.
Step 3: Add the Live Chat Widget Code to Your Website
This is the step people brace for most, and usually the one that turns out simplest.
Copy the single embed snippet Sonny generates for your workspace. It's one piece of code, not a bundle of scripts or a configuration file.
Paste it just before the closing
</body>tag on your site. This is the standard placement for most chat widgets, including Sonny's — I've corrected an earlier inconsistency in this guide that mentioned the header;</body>is the right spot unless Sonny's own documentation specifies otherwise for your setup.If you're not comfortable editing raw HTML, use a platform integration instead. Here's roughly where that lives on the platforms Sonny supports:
Platform Where to add it Shopify Online Store → Themes → Edit code, or via the Sonny app listing if one exists in the Shopify App Store WordPress Appearance → Theme File Editor (footer.php), or via a dedicated Sonny plugin if available Webflow Project Settings → Custom Code → Footer Code, then publish the site Always confirm the exact steps against Sonny's current help documentation, since plugin availability and interface details change over time.
Publish your changes and refresh the live page. Staging environments (common in Webflow and WordPress workflows) won't show the widget until the code is copied to production — this trips people up more often than you'd expect.
If the widget doesn't appear, check these in order: confirm the code is on the published site rather than a draft; hard-refresh or clear your browser cache; check whether a cookie consent tool or ad blocker is stopping the script from loading; and confirm you copied the full snippet without truncating it.
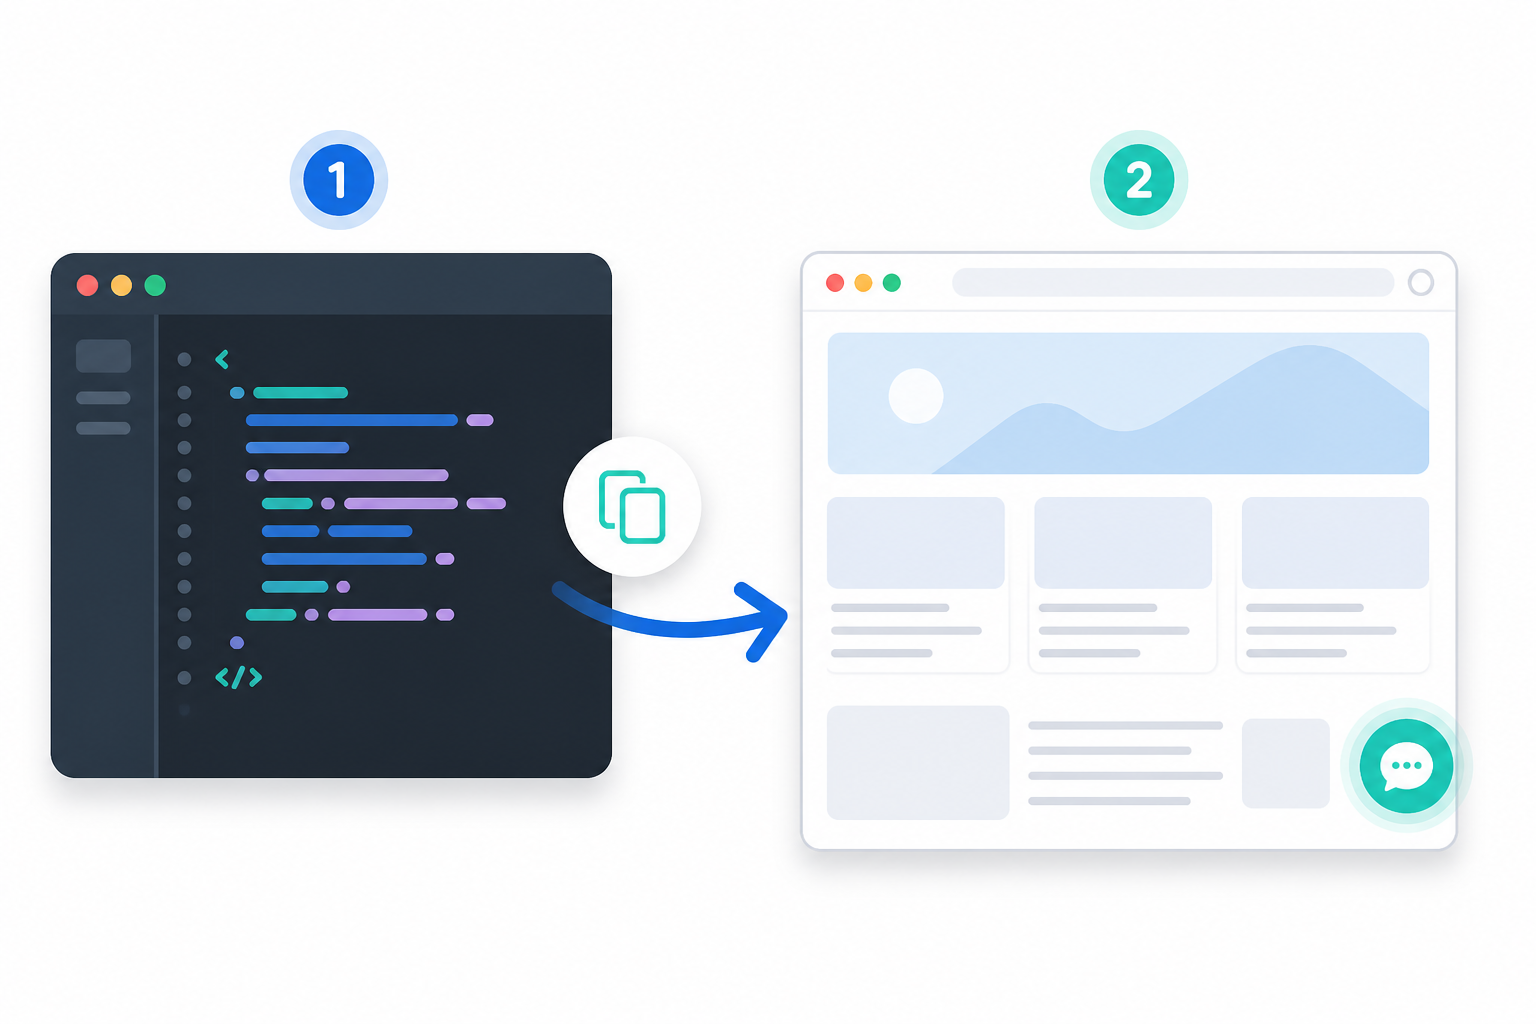
There are no API keys or server configuration requirements for the basic install. That said, if you're layering on other scripts, integrations, or a security policy that restricts third-party code, it's worth testing directly on the page before adding complexity such as Google Tag Manager.
Step 4: Send Your First Live Chat Test Message
This step gets skipped because it feels unnecessary. Don't skip it — it's the difference between catching a placement issue yourself and having a customer find it for you.
- Open your live site in an incognito or private window. This shows you the widget the way a visitor sees it, not the way it looks when you're logged in as an admin.
- Click the widget and send a test message. “Testing 1, 2, 3” is fine — you're checking function, not writing copy.
- Check your Sonny inbox to confirm the message arrives. Sonny offers browser access and, depending on your plan, desktop and mobile apps — worth confirming current platform availability on its site, since app support can vary by release.
- Reply from the inbox and check that it appears back in the widget. This confirms the two-way conversation flow.
- Try assigning the test conversation to a teammate and leaving an internal note, if you have a second person on the workspace. This is where a shared inbox pulls ahead of a basic chat plugin — you're coordinating a team around a conversation without leaving the tool.
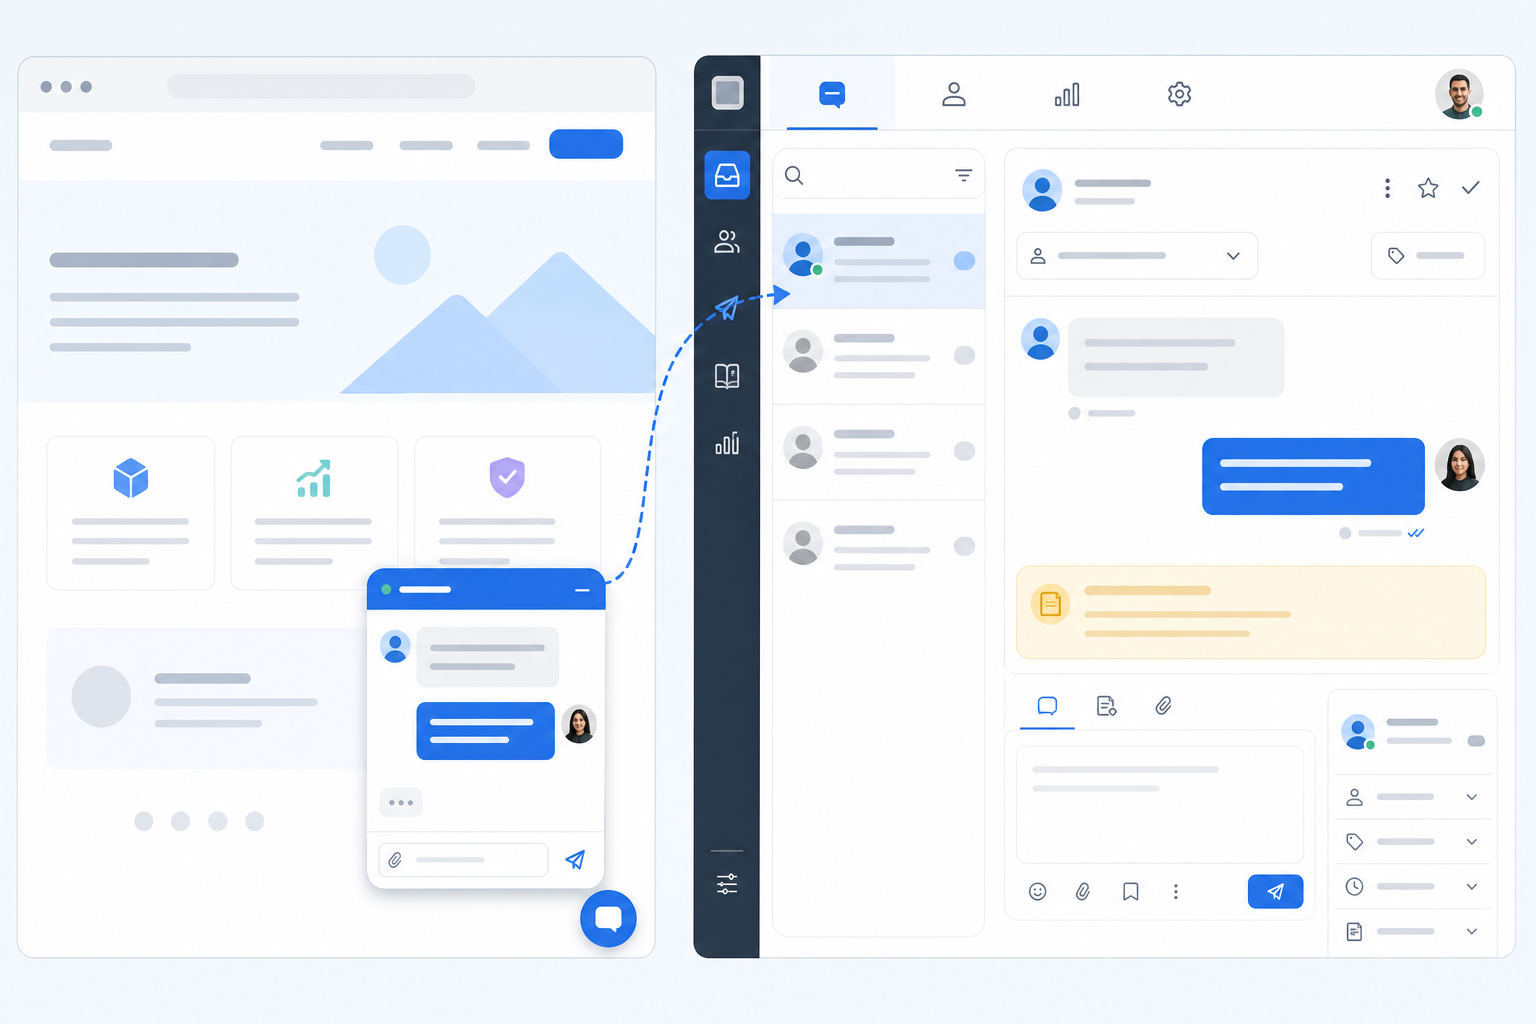
If your test message doesn't reach the inbox, check your internet connection first, then confirm you're logged into the correct workspace (easy to mix up if you've created more than one during testing), and refresh the inbox page. If it still doesn't land, Sonny's support documentation is the right place to check for known issues before assuming it's something you've done wrong.
Once that test message round-trips successfully, you're done. Your live chat widget is live, your team has access, and you haven't touched backend code.
Common Mistakes That Slow Down Live Chat Setup
Even a quick process can turn into a 40-minute headache if you trip over one of these. None of them are about skill — they're just easy to miss when you're moving fast.
- Installing through Google Tag Manager before testing directly on the page. GTM is fine once things are working, but using it as your first installation method adds a debugging layer you don't need on day one.
- Forgetting to set office hours. A widget promising “we're online!” at midnight, when nobody actually is, undermines trust quickly.
- Skipping the test chat step. This is the one that bites people most often — you publish, assume it's fine, and then a real customer messages you about a placement issue you could have caught in 30 seconds.
- Adding the widget to a staging site and forgetting to copy the code to production. This happens constantly with Webflow and WordPress setups that have separate staging and live environments.
- Not checking for cookie-consent conflicts. If your site uses a consent management tool (common for UK and EU compliance), test that the widget still loads after a visitor accepts or declines cookies — some consent setups block third-party scripts by default.
- Assuming you need budget approval before inviting your team. With per-seat pricing models, that hesitation makes sense. With flat-rate pricing, there's no seat-count maths to justify — but confirm current pricing details before assuming this applies to your plan specifically.
Live Chat Widget Setup FAQ
How do I add a live chat widget to my website fast?
Sign up for a free trial, customise your widget's colours and greeting in the dashboard, then copy one snippet of code into your site before the closing </body> tag — or use a built-in Shopify, WordPress, or Webflow integration if you'd rather avoid touching code. Most teams have a live chat widget running in five to ten minutes, assuming their site is already published and they have the necessary admin access.
Do I need a developer to install a chat widget?
Usually not. If you can paste a line of code into your site, or you're using a platform such as Shopify or WordPress with a plugin integration, you can install live chat software yourself. There's no backend configuration or API setup required for a basic install with a tool like Sonny — although if your site has custom security policies restricting third-party scripts, you may need someone with access to adjust them.
How long should live chat setup realistically take?
For most small teams, five to ten minutes is realistic using customer support software designed for self-serve setup — assuming your site is live, you have admin access, and there's no unusual friction from caching or consent tools. If it's taking an hour or requiring a scheduled vendor call, that's usually a sign of the platform's onboarding process, not your technical skill.
What live chat widget settings should I configure first?
Start with your brand colour, a genuinely friendly greeting message, and accurate office hours. Those three settings shape a visitor's first impression more than any advanced feature, so get them right before worrying about automation or AI add-ons.
What access do I need before I start?
You'll need admin access to your website's code or CMS (Shopify, WordPress, or Webflow), a published version of your site, and an email address to create your workspace. If you're not sure who has admin access on your site, sort that out before starting the clock on your five-minute setup.
Setting up a live chat widget shouldn't feel like a software rollout. Realistically, it's closer to flipping on a light switch: a few minutes of setup, one test message, and you're live. If your current process feels more complicated than the checklist above — prerequisites, four steps, and one test chat — it's worth asking whether the friction is coming from your side or from the tool itself. Start the trial, run through the steps, and send yourself that first test message before you decide either way.