
How to Set Up a Multi-Brand Shared Inbox for E-commerce Customer Support
A practical, step-by-step guide to running customer support for multiple online storefronts from one shared inbox, covering email routing, tagging, reporting, and what to check before you go live.
You don't need five different help desks for five different brands. With the right setup, you can map each storefront to its own support email address inside one multi-brand shared inbox, use routing rules to sort and assign conversations by brand, and pull separate reports for each without switching tools. This guide walks through how to approach that setup: the mechanical steps, and the areas where you'll need to check your help desk software's specific capabilities before you commit.
If you're running multiple storefronts, you probably already know the pain. Brand A's support tickets live in one tool, Brand B's live chat sits in another, and someone on your team has become a human router trying to keep everything straight. A shared inbox for e-commerce customer support can bring those conversations into one workflow without removing the separation each brand needs.
A quick note before we get into it: I'll reference Sonny throughout as a working example of how this kind of setup can work, mainly because flat-rate, unlimited-agent pricing removes one of the biggest barriers to consolidating brands into a single inbox. That said, pricing, plan limits, and exact feature names change, and they vary by region. Treat every specific figure here as a starting point to verify against Sonny's current pricing page in GBP, including whether VAT is included, rather than a guaranteed fact for your account.
Why use a multi-brand shared inbox for e-commerce support?
Here's something that catches a lot of growing teams off guard: tooling costs don't just add up when you run separate help desks per brand, they multiply. Most help desk software charges per seat, per account. So if you've got three brands with five agents each, you could be paying for fifteen separate seats spread across three subscriptions, on top of training time and the headache of never getting one clean view of how support is actually performing.
A multi-brand shared inbox changes that. Instead of five help desks, you run one shared inbox with five brands organised as tagged channels. Your team keeps working from the same tool, using the same conventions and workflows, and simply filters by brand when needed.
This is why flat-rate pricing matters for multi-brand teams. If your plan covers unlimited agents and unlimited conversations for one flat monthly fee (again, confirm this against current pricing), adding a third or fourth brand doesn't automatically mean a bigger bill. That said, it's worth being honest about what does still scale with each new brand: support volume, staffing hours, inbox configuration work, and the time it takes to keep tagging and routing rules tidy. A flat software subscription helps, but a new brand still costs something to support.
To make this concrete, imagine a small team running three online storefronts: Aurora Home, Aurora Kids, and Aurora Outdoors. All three share one customer support inbox. Rather than hiring a dedicated support person the moment a fourth storefront launches, the team could consolidate into one shared inbox, tag conversations by brand, and let routing rules distribute the extra volume across existing agents, at least until ticket volume genuinely exceeds the team's capacity. That's the real trade-off here: consolidation buys you flexibility and lower help desk overhead, not infinite capacity.
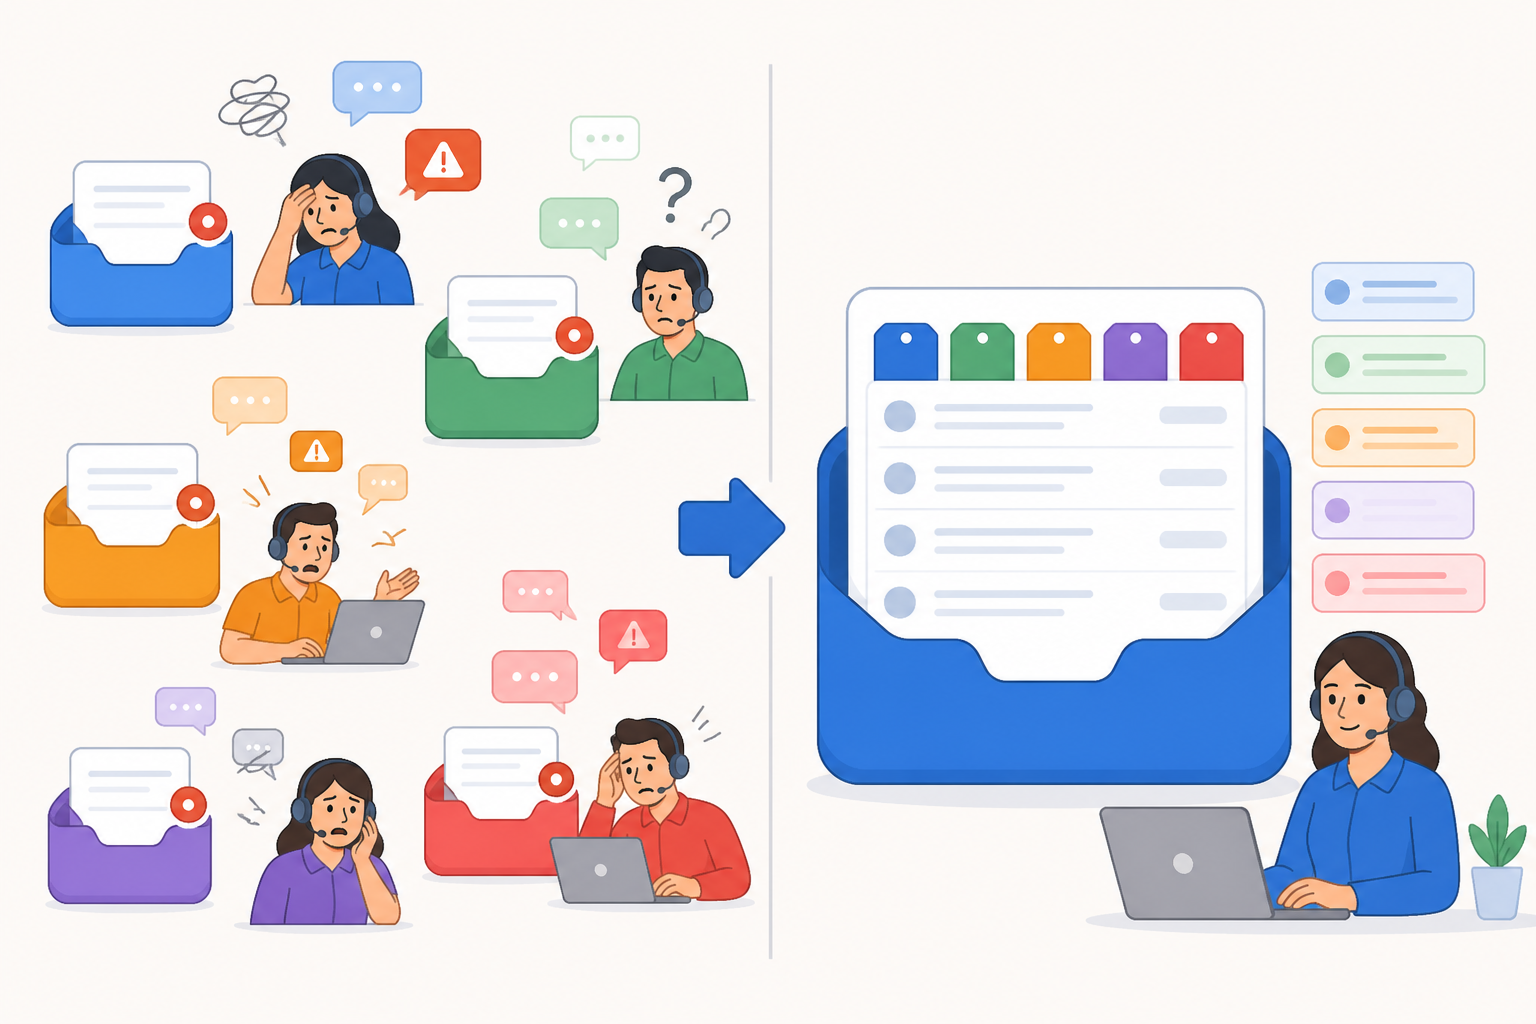
Map each brand to a shared inbox channel
Before you touch a single setting, think through how each brand should live inside the inbox. Get this part right, and everything downstream (routing, reporting, scaling) gets a lot easier.
Using our Aurora example, the mapping might look like this:
| Brand | Support email | Live chat source | Brand tag |
|---|---|---|---|
| Aurora Home | support@aurorahome.co.uk | aurorahome.co.uk widget | brand:home |
| Aurora Kids | support@aurorakids.co.uk | aurorakids.co.uk widget | brand:kids |
| Aurora Outdoors | support@auroraoutdoors.co.uk | auroraoutdoors.co.uk widget | brand:outdoors |
A few principles to work from:
- Treat each brand as a channel, not a separate account. Your shared inbox should hold all your brands together, sorted by tags and filters, rather than making agents log in and out of different workspaces.
- Decide on your live chat widget setup early. Some help desk tools let you run a separate widget for each storefront domain, which gives a cleaner brand identity but takes more setup. Others support one widget with brand detection based on the domain it's embedded on. Check what your specific tool actually supports before committing to a pattern, since capabilities vary between products.
- Establish brand-level tags first. Before adding ticket types, urgency levels, or issue categories, make sure every conversation gets tagged by brand. Everything else, routing and reporting included, gets built on top of this.
- Keep naming conventions consistent. Something like HOME-EMAIL and HOME-CHAT won't win any awards for creativity, but it means that when you're staring at a routing rule six months from now, you'll actually understand what it does.
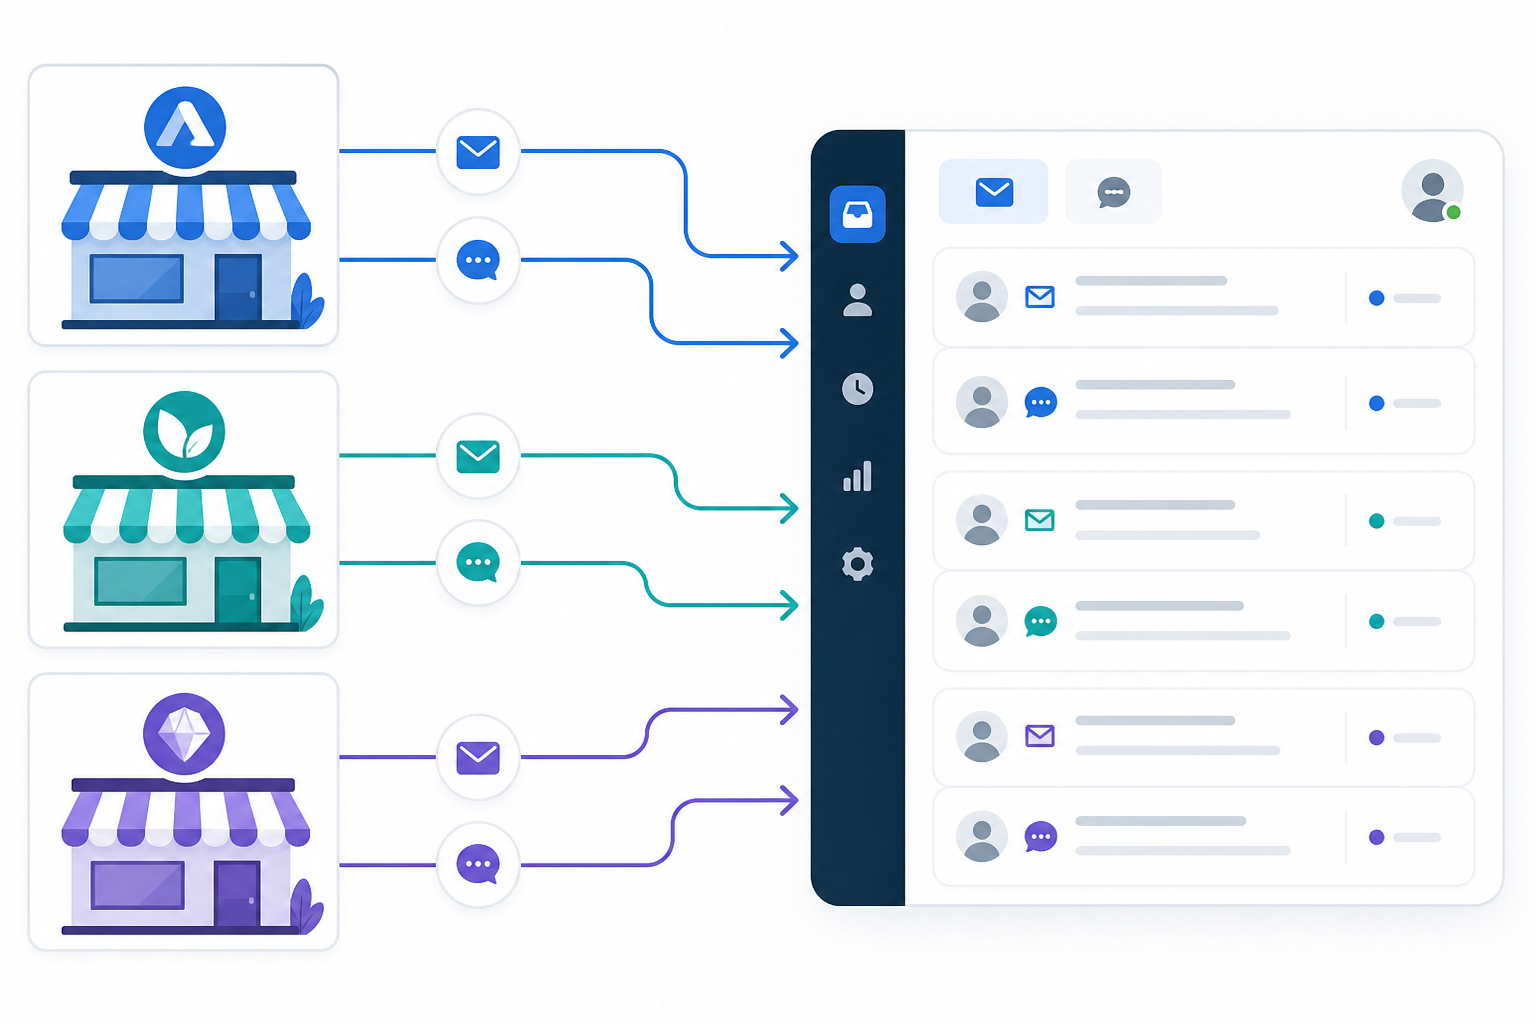
Set up separate support email addresses for each brand
Once you've mapped your structure, it's time to build it. This part is more mechanical than strategic, but getting the details right prevents headaches later. A few of these steps are easy to skip by accident.
- Create a dedicated support email address for each storefront, such as support@aurorahome.co.uk and support@aurorakids.co.uk. This keeps each brand's customer-facing identity separate, even though the backend is unified.
- Set up domain authentication before forwarding messages. SPF, DKIM, and DMARC records need to be configured correctly for each sending domain, or outbound replies may land in spam. This step is easy to overlook and painful to debug after launch. If you're unsure how to configure it, your domain registrar or hosting provider's documentation is usually the fastest place to start.
- Forward each address into your shared inbox using your tool's email-to-ticket forwarding feature. In many tools this takes only a few minutes, but always run a real test rather than assuming it worked. Forwarding rules can silently fail if mail settings change.
- Apply an automatic brand tag when each email arrives, so every conversation is tagged before an agent opens it. Confirm your specific plan actually supports rule-based auto-tagging for inbound email, particularly if you're on an entry-level plan.
- Test each address with a real email, confirming that it reaches the inbox, gets the correct brand tag, and doesn't create a duplicate ticket. This matters even more if you're migrating from another help desk.
- Double-check your reply-from addresses. If a customer emails support@aurorahome.co.uk, the reply should come from that same address rather than a generic one that makes it look like a different brand is answering. Not every tool supports per-brand reply-from addresses out of the box, so check this directly rather than assuming.
Once these steps are done for each brand, you've built your intake system. Routing, reporting, and future expansion can build on top of it.
Create routing and assignment rules by storefront
Routing is the part that actually saves your customer support team time every day. This is where a multi-brand shared inbox stops feeling like a filing system and starts feeling like an operational tool, provided the rules have a clear order of precedence.
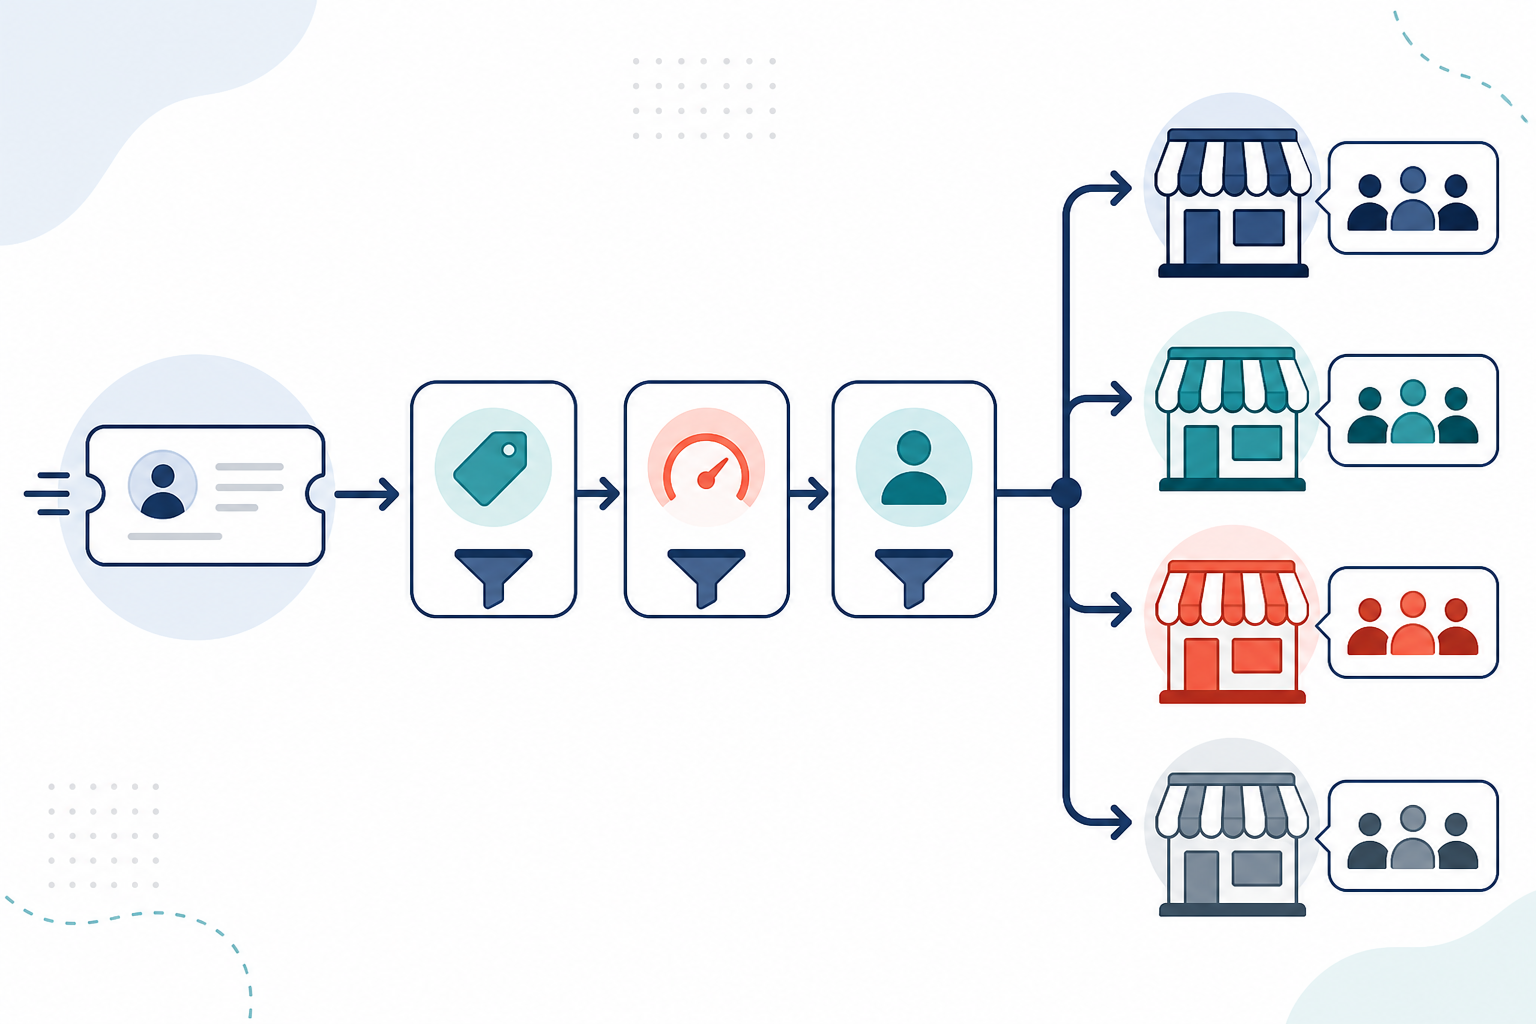
Here's a sensible routing hierarchy for the Aurora example:
- Identify the brand from the source first. A ticket arriving via support@aurorakids.co.uk gets the brand:kids tag automatically, regardless of what the message actually says. This is your most reliable signal, and it should take priority over keyword matching.
- Layer channel and priority tags second. Note whether the conversation came from email or live chat, and whether it contains urgent language or a VIP customer flag. These tags sit alongside the brand tag rather than replacing it.
- Assign the conversation to the correct team or agent group third. Once the brand and priority are known, route the ticket to whichever team handles Aurora Kids. That could be a dedicated group or a shared pool of agents covering multiple brands.
- Build a fallback queue for unrecognised conversations. If a message arrives without a clear brand tag, say, a forwarded email or a chat started from an unexpected domain, send it to a manual review queue. Don't let it default to one brand's team, where it could get handled with the wrong policies or the wrong tone.
A few additional practices are worth building into your routing workflow:
- Use internal notes for brand-specific context. Different return policies, SLAs, and escalation paths can be documented in internal notes. This helps an agent covering an unfamiliar brand during a busy period respond correctly instead of guessing.
- Avoid routing by keyword alone. If you route only on words in the message rather than the source, you risk cross-brand mistakes. An Aurora Kids customer might mention a product that Aurora Outdoors also sells, for example. Route by source first, then layer keywords on top only when you need to.
- Review your automation regularly. Once rules are configured, sorting happens automatically, which is exactly why it's easy to stop paying attention to it. Spot-check a sample of tickets each week, especially in the first month, so you catch rule conflicts before they turn into a pattern.
Segment shared inbox reports by brand
A lot of teams get stuck with traditional help desk software because they can see overall metrics but not brand-specific performance. That's a real problem when you're trying to work out which storefront actually needs more support attention.
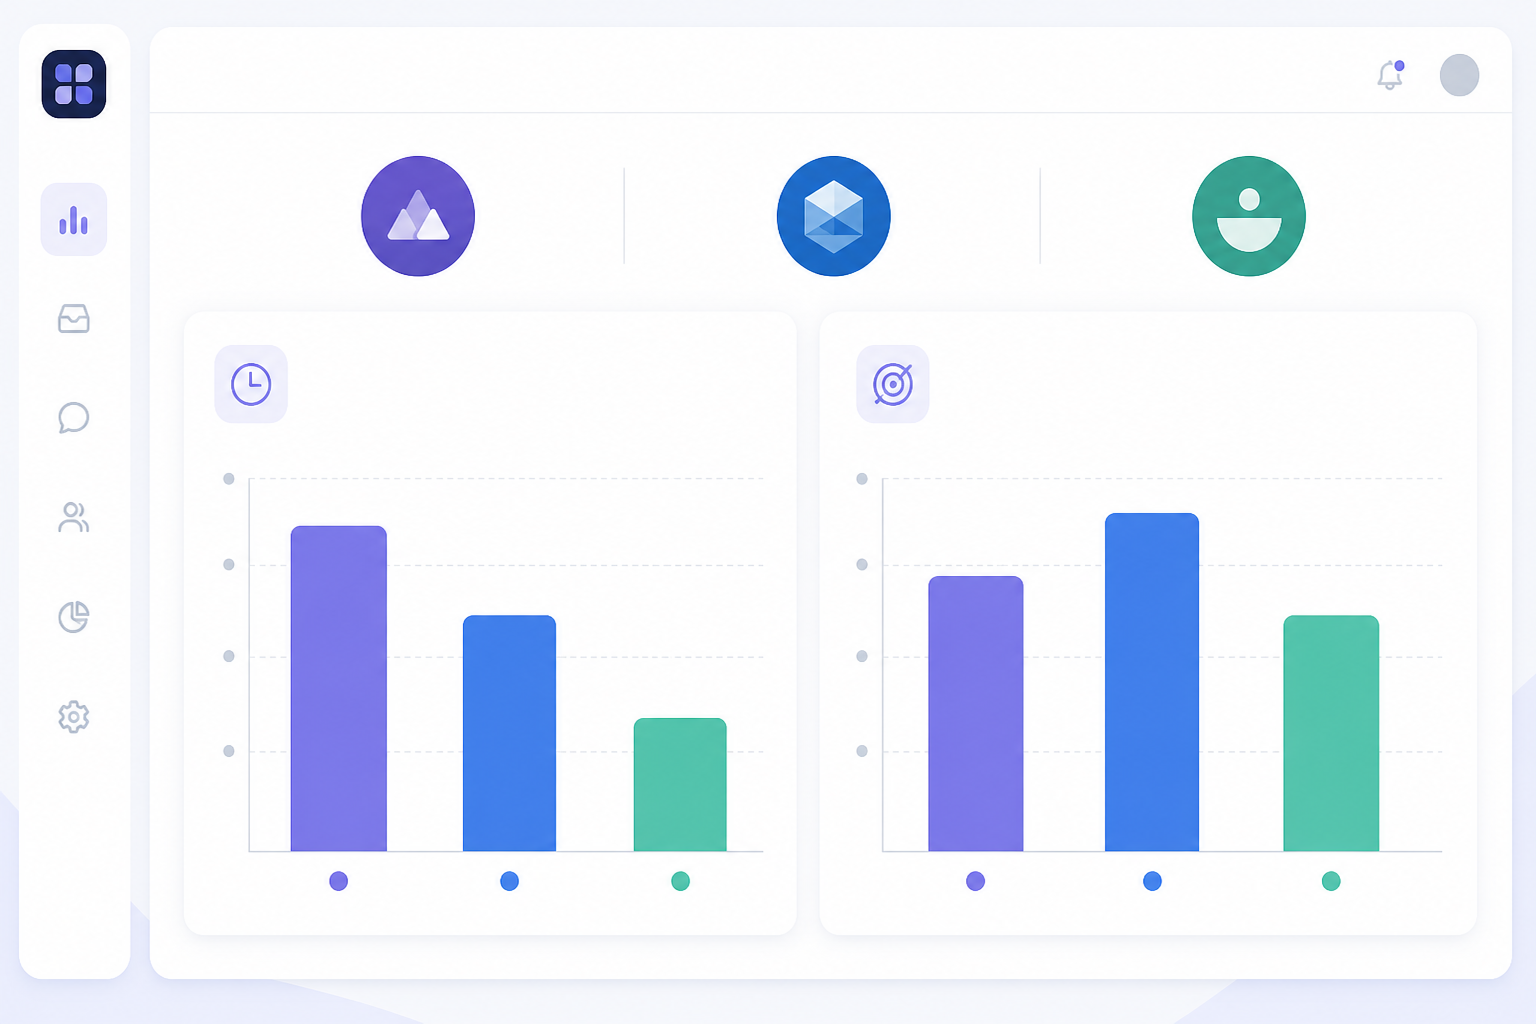
Because every conversation is tagged by brand when it arrives, you can filter reports the same way, assuming your specific plan includes tag-based report filtering and export. Confirm that before you rely on it. Below is an illustrative example of what a brand-level reporting view might show, not real performance data:
| Metric (illustrative) | Aurora Home | Aurora Kids | Aurora Outdoors |
|---|---|---|---|
| Average first response time | 2h 15m | 4h 40m | 1h 50m |
| Resolution rate | 94% | 87% | 96% |
| Ticket volume (monthly) | 320 | 510 | 180 |
| Reopen rate | 3% | 9% | 2% |
A table like this tells a story fast once you know what each metric actually measures. Response time here means first reply, not full resolution. Reopen rate tracks tickets marked resolved that came back within a defined period. Define these clearly in your own reporting so the numbers are actually comparable across brands.
In this example, Aurora Kids generates the most volume but has the slowest response time and the highest reopen rate. That's the kind of pattern that might genuinely justify dedicated coverage rather than shared agent time. Aurora Outdoors, on the other hand, looks lean enough to keep sharing agents with the other two brands.
A couple of practical reporting tips:
- Export brand-specific reports for stakeholders where your tool supports it, so a brand manager sees their own numbers instead of the whole team's combined performance.
- Set a recurring review cadence, weekly or monthly, whichever fits. Brand-level trends can hide inside aggregate numbers for a long time if nobody's actually looking.
- Keep metric definitions consistent across brands. A first response time calculated from business hours can't be fairly compared to one calculated over 24-hour periods.
Add a new brand without buying new help desk software
Once your first two or three brands are configured, adding another is comparatively straightforward, although it's worth being honest about what "straightforward" actually means here.
- Add a new forwarding email address and apply your existing tagging convention, including domain authentication for the new sending domain. You may not need to buy new software, but this step still takes real setup time.
- Duplicate your existing routing rule template and change the brand tag. Most of the underlying logic, urgency filters and customer type conditions, for example, carries over. Check that your fallback queue still catches untagged messages from the new brand.
- Brief your team on the new brand tag. Because the inbox layout and workflow stay the same, this is usually a short conversation rather than a full retraining session. Give it more time if your team is still new to the tool.
- Check whether your monthly bill actually stays flat. On genuinely flat-rate, unlimited-agent plans, launching support for a new storefront may not trigger a new subscription tier. Confirm this against your plan terms, since some plans cap conversation volume or agent seats even within a flat-rate structure.
- Create brand-specific reporting filters on day one. It's much easier than trying to untangle historical data by brand later.
Here's the honest version: the software cost of adding a brand can stay low or flat. The operational cost, extra volume, configuration work, and quality assurance for tagging accuracy, doesn't go away just because the tool scales well. Plan for both.
Multi-brand shared inbox go-live checklist
Before you send customer traffic to your new setup, run through this checklist:
- ✅ Every brand has its own forwarding email address, with SPF, DKIM, and DMARC configured
- ✅ The auto-tag rule has been confirmed with a real test email for each brand
- ✅ The reply-from address matches the brand a customer originally contacted
- ✅ Routing rules have been tested with at least one sample ticket per brand, plus one untagged test to confirm the fallback queue actually works
- ✅ Reporting filters have been saved so you can pull brand-specific views on demand
- ✅ The team has been briefed on which tags mean what, especially agents supporting more than one brand
- ✅ Live chat widget(s) have been confirmed to display the correct brand identity to customers
If you can tick these off, you're in good shape. I'd still recommend running one brand live for a week before migrating the rest. It's much easier to catch a misconfigured rule when there's only one brand's traffic to look at.
FAQ: managing multiple brands in one shared inbox
How do I set up support for multiple storefronts in one tool?
Give each storefront its own support email address, configure SPF, DKIM, and DMARC for each domain, and forward those addresses into your shared inbox using email-to-ticket forwarding. Apply an automatic brand tag to each incoming address, after checking that your plan supports rule-based tagging, so every conversation is labelled by storefront the moment it arrives. Routing rules and reporting filters can then use that brand tag.
Can I run separate reporting for each brand in one inbox?
In tools that support tag-based filtering, yes. As long as conversations are tagged by brand at intake, you can filter metrics like first response time, resolution rate, and ticket volume by that tag. Just confirm your plan actually includes this level of reporting granularity and export, since it can vary between entry-level and higher-tier plans.
What's the easiest way to add a new brand to my support setup?
Add a new forwarding email address with proper domain authentication, duplicate your existing routing rule template, and use a new brand tag. On genuinely flat-rate plans with unlimited agents, this often doesn't increase your software subscription cost. Still, budget time for configuration and quality assurance, and check your provider's current pricing in GBP rather than assuming it hasn't changed.
How do routing rules work across multiple brands?
Routing rules typically identify the brand from the source, the email address or chat domain, first. They then apply other filters, like urgency, customer type, or language. Build a fallback queue for conversations that arrive without a clear brand tag rather than letting a rule guess and risk sending a ticket to the wrong brand's team.
What happens if a ticket gets the wrong brand tag or no brand tag?
This is exactly where a fallback queue earns its keep. Instead of letting an untagged or mistagged ticket default into one brand's workflow, route it somewhere a person can actually review it. Check this queue at least weekly, and more often in the weeks right after you add a new brand.
Does running multiple brands in one inbox create data or privacy issues?
If you're handling UK or EU customer data, check that your help desk software's data processing terms actually cover multi-brand use. Also confirm that access controls stop agents from one brand seeing customer data for another brand, where that separation matters to your business.
Final thoughts on multi-brand customer support
Running support for multiple brands doesn't have to mean multiplying your tools or your costs. It does, though, mean real setup work. Most of that effort goes into authentication, tagging accuracy, rule precedence, and reporting definitions, not just picking a help desk provider and hoping for the best.
Start with one brand fully configured and tested. Migrate a second once you trust the fallback queue, then let the third brand and everything after it ride on the same repeatable process. 🙌