
You can go from sign-up to a working live chat setup in a single day. Spend the first hour creating your account and installing the widget. Use the rest of the morning to connect your support email and invite your team. Then finish the afternoon with tags, test conversations and a simple plan for the rest of your trial. Sonny's 7-day free trial doesn't ask for a credit card at sign-up (please check the current terms on Sonny's site), so you can experiment without committing to anything.
I'll walk you through it hour by hour, the way I'd talk a friend through it. No onboarding calls, no consultants, no 40-page configuration guide.
Before You Start: What to Expect from a 24-Hour Live Chat Setup
Picture a founder I'll call Priya. She runs a small SaaS product, and customer questions reach her in three places: her personal Gmail, a Slack channel where the developers sometimes paste screenshots, and the odd DM on a Tuesday night. Every so often someone asks, 'Did anyone reply to that person?' and nobody is quite sure. Sound familiar?
Priya doesn't need a six-week project. She needs one place for everything. That's what a shared inbox gives you, and it's where this guide leaves you by the end of the day.
Here's the honest bit about timing. The technical steps (making an account, pasting a snippet, forwarding an email address) take minutes. Most of the day goes on decisions: who answers what, how you label things, and what you tell customers to expect. So when I say '24 hours', I mean everything is ready and tested within a day. The trial itself runs for seven days, and the six days after setup are a separate pilot, which we'll plan at the end.
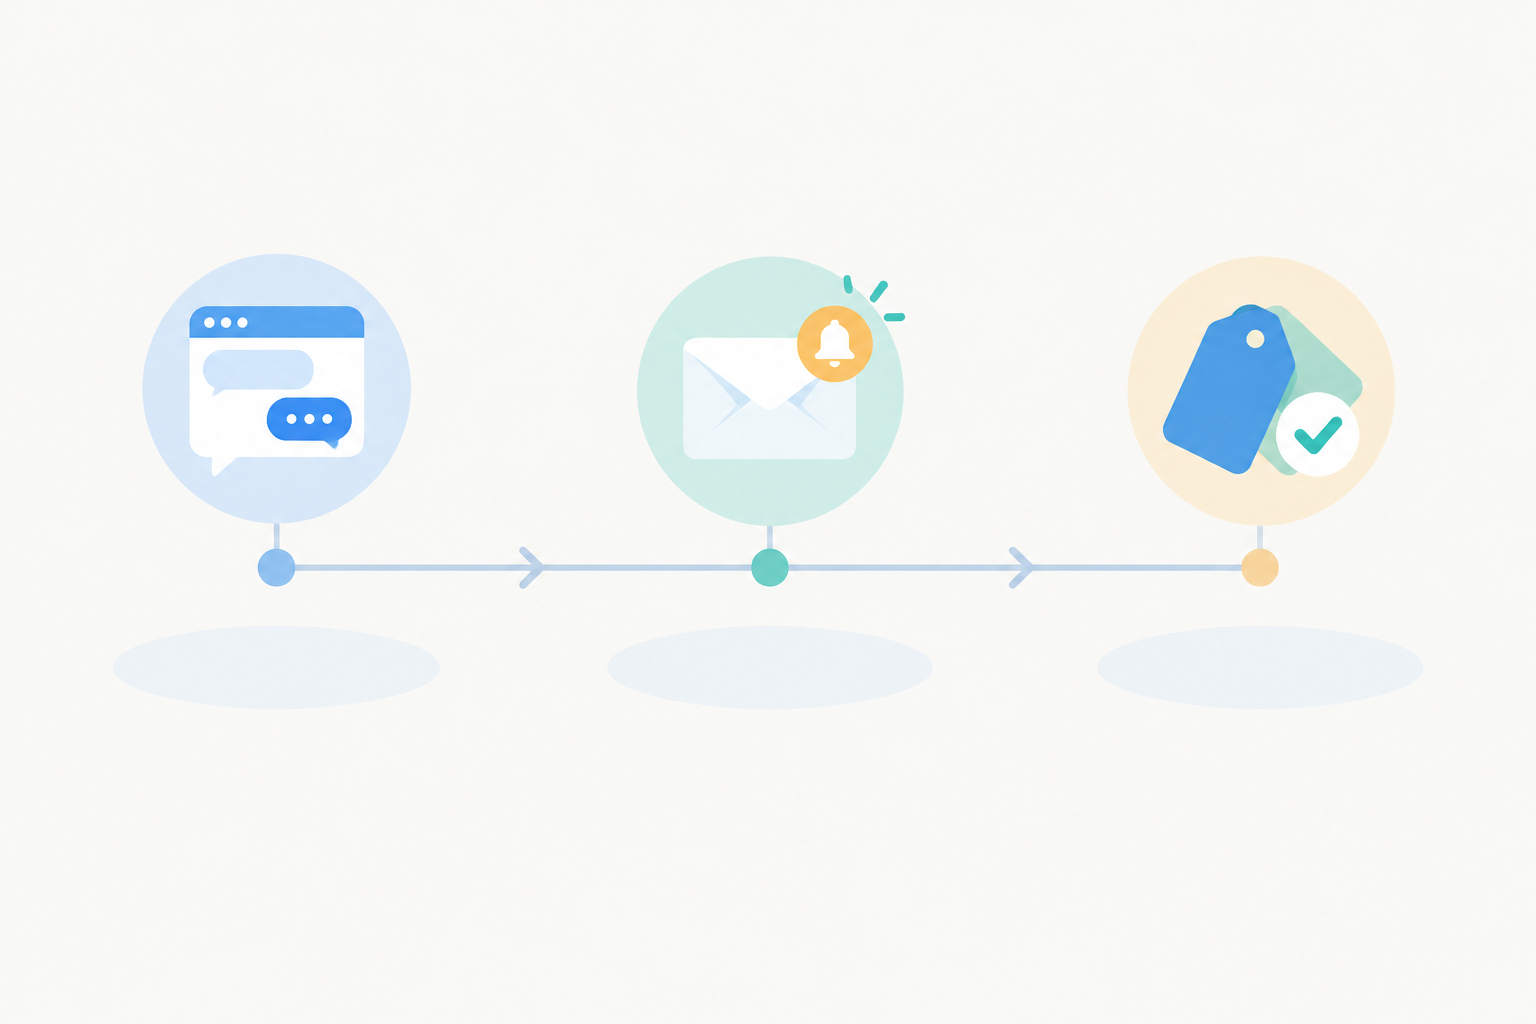
We'll work through three checkpoints:
- Hour one: account created, live chat widget on your site.
- By lunch: support email forwarded into the shared inbox, and teammates invited.
- End of day: starter tags, test conversations done, and a plan for the rest of the trial.
A trial makes a good sandbox. You can change your mind about a greeting message five times, and none of it touches real customers until you decide to go live.
Live Chat Setup Checklist: What to Gather First
Gather these before you begin, so you don't stall halfway through:
- Admin access to your website (or the person who has it)
- Admin access to your support email settings, such as Google Workspace, Microsoft 365 or your domain host
- A list of teammates' email addresses
- About 20 minutes of calm to think about what you want your first greeting to say
Hour One: Create Your Account and Install the Live Chat Widget
When people ask me what to set up first, my answer is always the widget. It's the part customers see, it's quick, and watching it appear on your own site is a nice little boost. Let's do it.
- Sign up. Create your account and you're in.
- Customise the widget. Match your brand colours so it looks like part of your site rather than a bolted-on extra.
- Write a short, human greeting. Something like, 'Hi there! Ask us anything. We usually reply within a few minutes during UK working hours.' That one line says hello and sets a response-time expectation. Only promise what you can keep, and you can refine it later.
- Copy the embed snippet. Paste it into your site's code, your tag manager, or the custom-script area of your platform. Hosted builders such as Shopify, Squarespace, Wix or WordPress usually have a spot for this in the theme or settings area, though the menu names differ.
- Check it everywhere. Look at it on desktop, then on your phone, then in a private browser window. That last one shows you what a brand-new visitor sees, not what you see while logged in as the site owner.

A quick tip: keep that first greeting short. People skim chat widgets, and a friendly sentence beats a paragraph every time.
Sonny also has apps for iPhone, Mac and Android alongside browser access (do check the current app list when you sign up). So you can answer a chat from the train or the kitchen. We'll come back to this when we invite the team.
By Lunch: Forward Your Support Email into the Shared Inbox
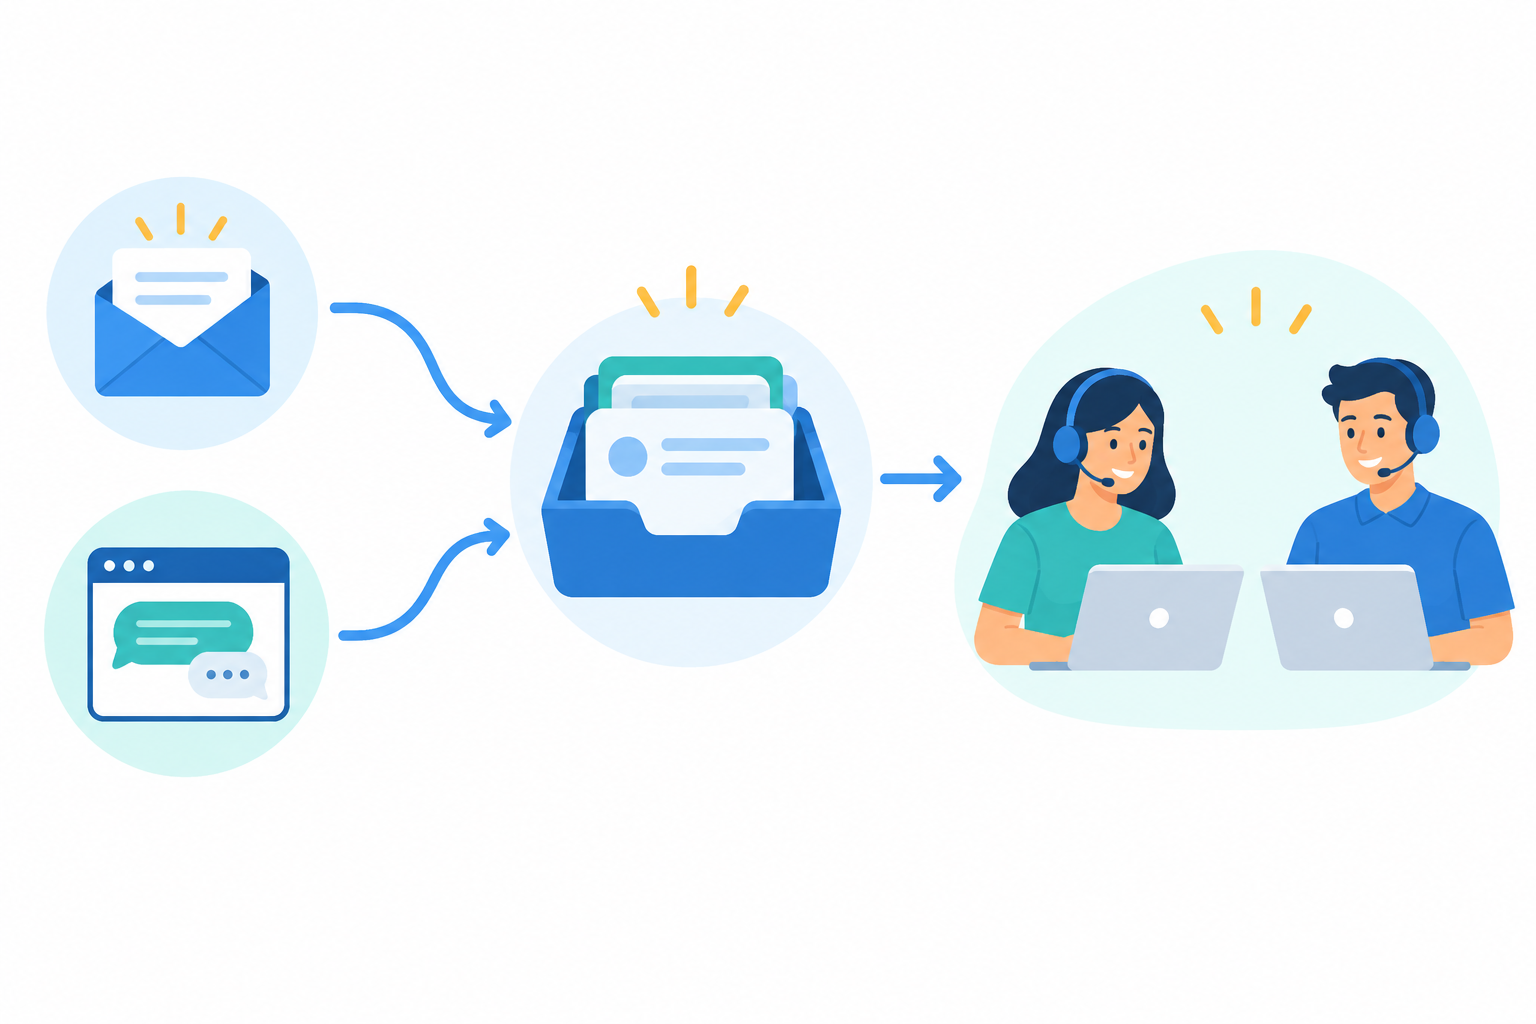
Live chat is lovely, but most customers still email. If chat lives in one tool and email in another, you've rebuilt the problem you were trying to escape. Put email and chat in the same shared inbox and every conversation sits in one list, with one status, and one answer to 'did anyone reply to that?'
The nicest part is that customers don't have to change anything. You keep your existing support address and forward incoming messages to the unique address Sonny gives you.
How to Forward Your Support Email: Step by Step
- Check for existing routes first. Before you switch anything on, make sure there isn't already a forwarding rule on your support address, or another help desk tool processing the same mailbox. Two routes into one inbox can create duplicate conversations and confusing handoffs.
- Find your Sonny inbox address. This is the forwarding address that turns incoming emails into tickets.
- Choose the forwarding method that matches your mailbox. The exact steps depend on your provider, your mailbox type and your admin permissions, so follow your provider's current help pages (or Sonny's setup documentation) alongside this overview:
- Google Workspace: if support@ is a normal user mailbox, add the Sonny address as a forwarding destination in that mailbox's settings and confirm it when Google asks for verification. If support@ is a group or alias, your admin may need to set up routing instead.
- Microsoft 365: for an individual mailbox, you can set up forwarding in its settings. A shared mailbox is usually handled by an admin, and a mail flow rule is another option if your organisation prefers it. Some organisations restrict external forwarding, so you may need an admin to allow it.
- Domain-level forwarding: if your domain host (a UK registrar, for instance) manages email aliases, point the support alias at the Sonny address. Behaviour varies between hosts, so test it rather than assuming.
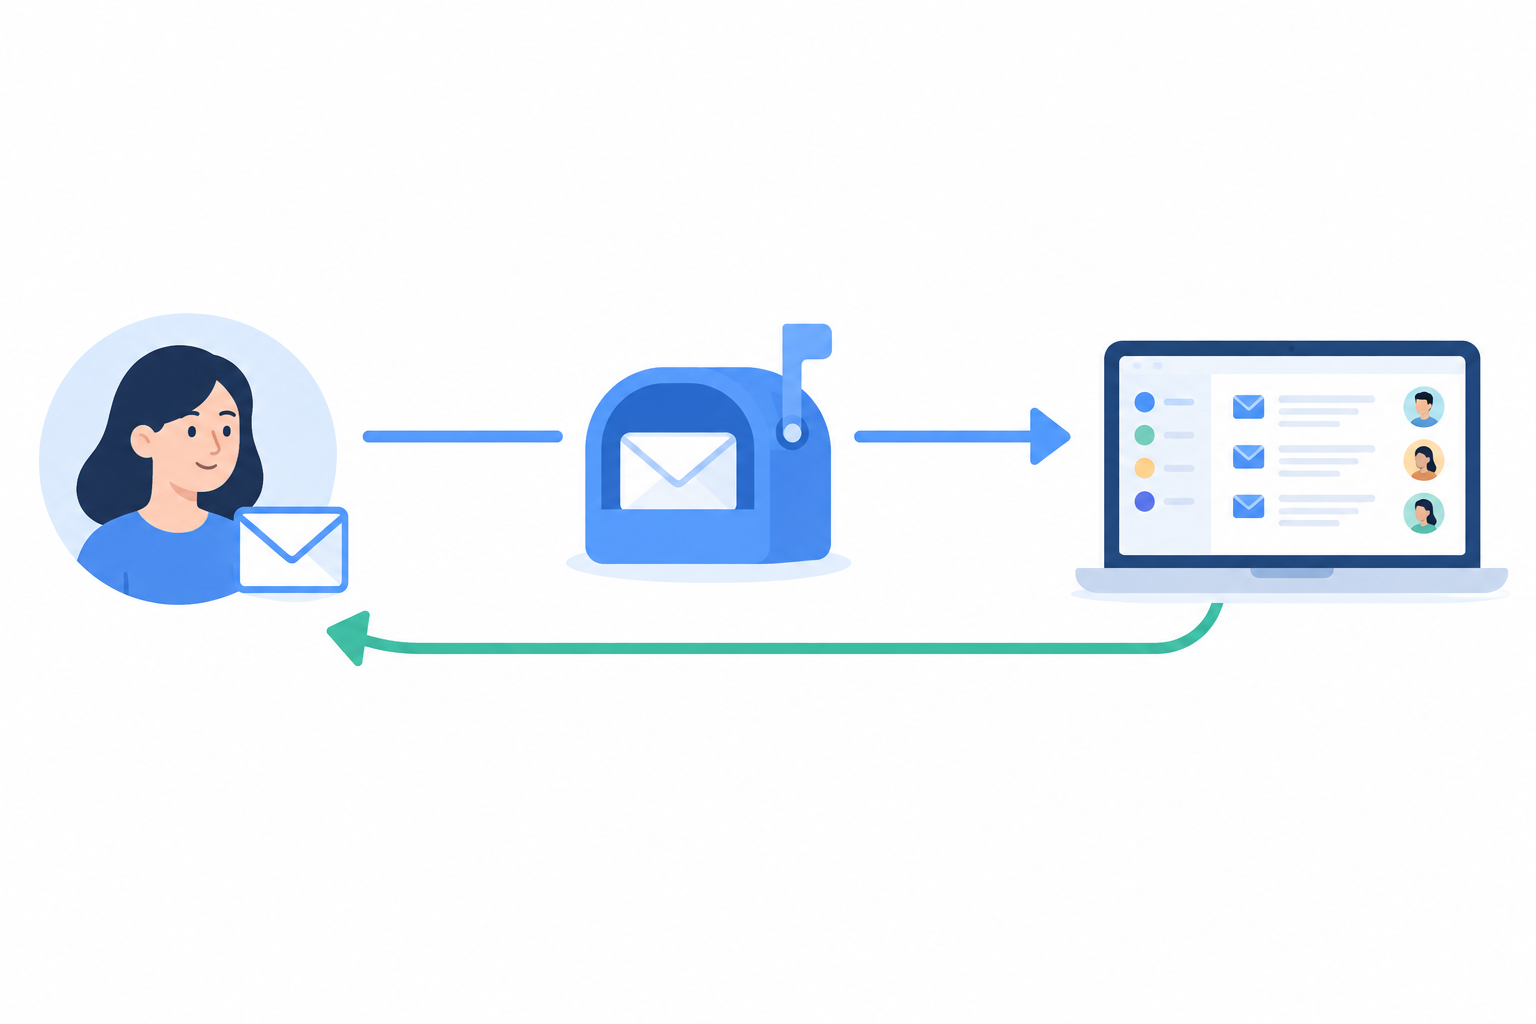
- Send yourself a test. From a personal address (not your work one), email your support address. It should arrive as a ticket with the correct sender and subject.
- Reply from the inbox. Check the reply lands in your personal account, and look at how the sender name appears. A reply from 'Priya at Acme' feels very different from an unfamiliar string of characters.
Support Email Forwarding Troubleshooting
Don't panic. It's nearly always one of these:
- A forwarding confirmation email. Some providers send a verification message to the destination address. Look for it in the inbox and follow the link or code.
- The spam folder. Check where your test replies are landing, especially the first one.
- The wrong address. Confirm you've used the correct inbox address and that it's verified in your email settings.
- A blocked or duplicate rule. If nothing arrives, ask your admin whether external forwarding is restricted. If you're seeing two copies of everything, go back to step one.
Once a test email and a reply both work, take a breath. Chat and email now live in one place, and that's the hard part done.
Late Morning: Invite Your Team to the Live Chat Inbox
Installing the software is easy. Getting people to use it is where a lot of teams quietly stall. Nobody wants another tool, so a mandate tends to get a polite nod and then gets ignored. Here's what works better.
- Take the seat-count debate off the table. Sonny's pricing at the time of writing is a flat $19.99 per month with unlimited agents and conversations (please confirm the current price and any VAT on the pricing page, as it's quoted in US dollars). So you can invite founders, developers, marketing and ops without anyone asking whether another seat is worth it. On per-seat tools, that conversation tends to end with only one or two people having access.
- Invite the right people first. Start with whoever already sees customer messages, plus one person from product or engineering. The engineer who reads a bug report in the customer's own words often becomes your best advocate.
- Use internal notes instead of side channels. Rather than pinging a colleague on Slack with 'can you look at this one?', add an internal note to the conversation. The context stays with the ticket, and the next person doesn't have to hunt through message history.
- Agree one simple rule on day one. Mine would be: 'If a customer asks, it lives in the inbox.' That's it. No rulebook.
- Keep training tiny. A ten-minute walkthrough on a team call beats a long training session. Show the inbox, show a chat arriving, show an internal note. Then let people click around.
- Get the apps installed. Ask everyone to install the mobile or desktop app so notifications reach them where they already work. A tool people only remember to open is a tool that gets forgotten.
Early Afternoon: Create Starter Tags and Filters
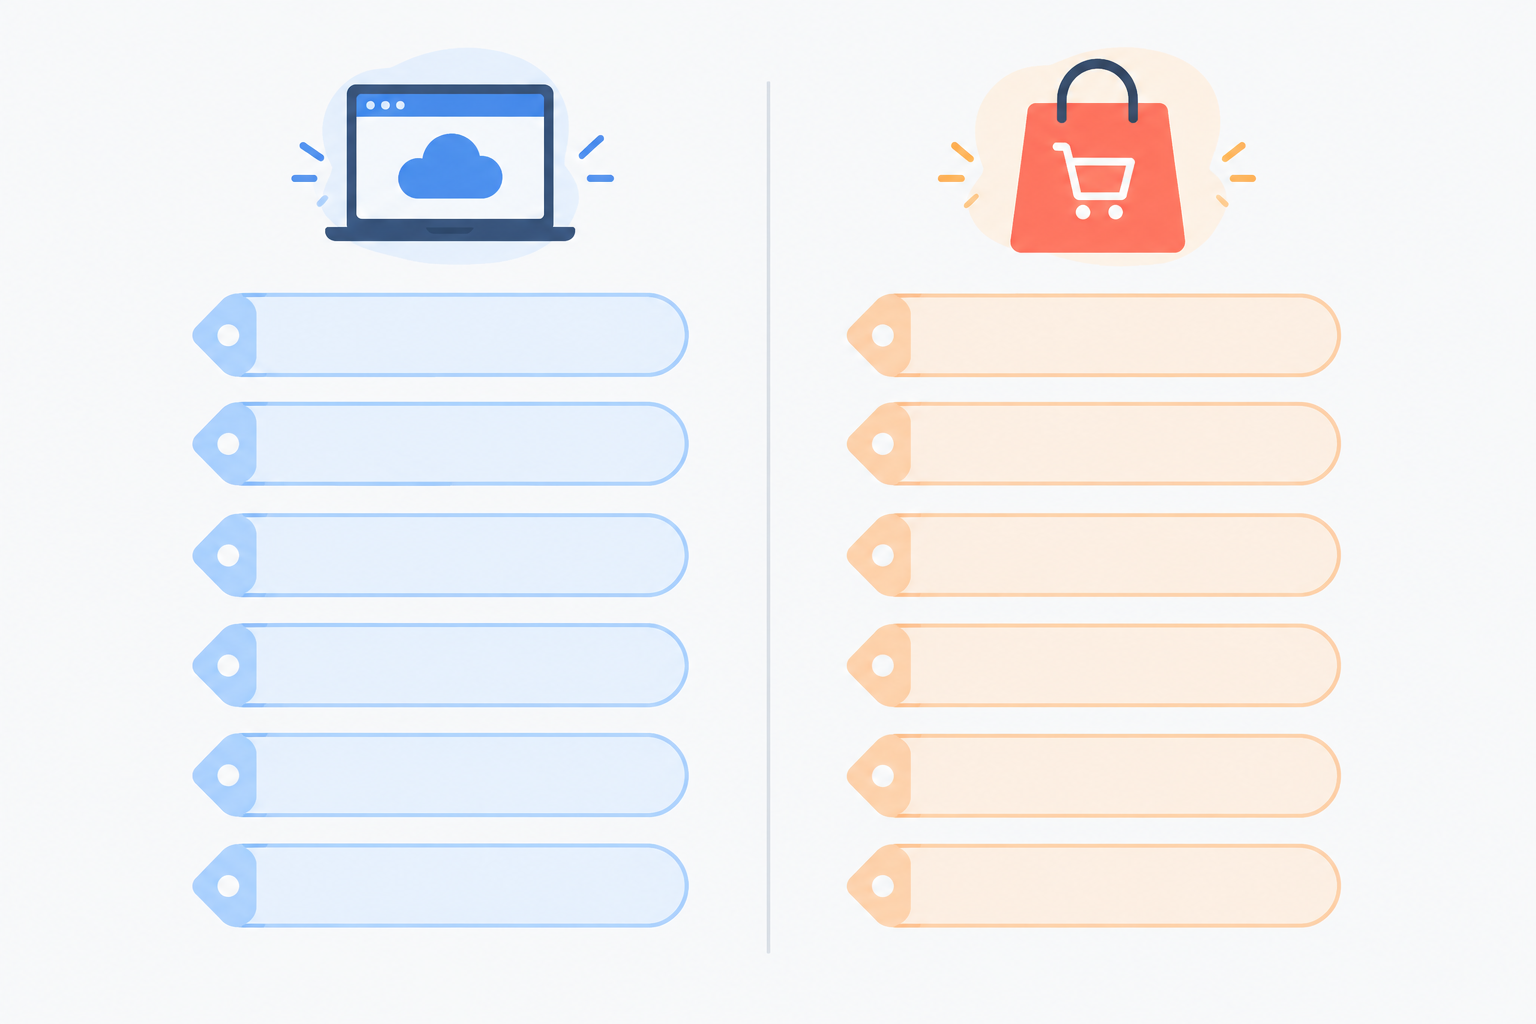
Tags are brilliant, and they're also where enthusiastic people go overboard. I've seen teams create thirty tags on day one and then use four of them. My advice is to start with five to eight, because you haven't seen many real conversations yet.
Here are two starter sets to borrow.
For SaaS teams:
- Billing
- Bug report
- Feature request
- How-to
- Account access
- Sales question
For e-commerce brands:
- Delivery
- Returns
- Product question
- Order change
- Discount code
- Wholesale
Next, use filters to build two simple views:
- Needs reply: everything still waiting on a first response or a follow-up.
- Assigned to me: so each person can see their own queue at a glance.
That's plenty. Resist the urge to build elaborate automation rules before you've seen what customers actually ask. Automation works best when it's based on real patterns, not guesses.
Tags keep things tidy, but they do more than that. Applied consistently, they help you answer questions like 'what are people asking about most?' without digging through old threads. Review them after a week, and merge or rename any that nobody uses.
Mid-Afternoon: Test Your Live Chat Setup Before Launch
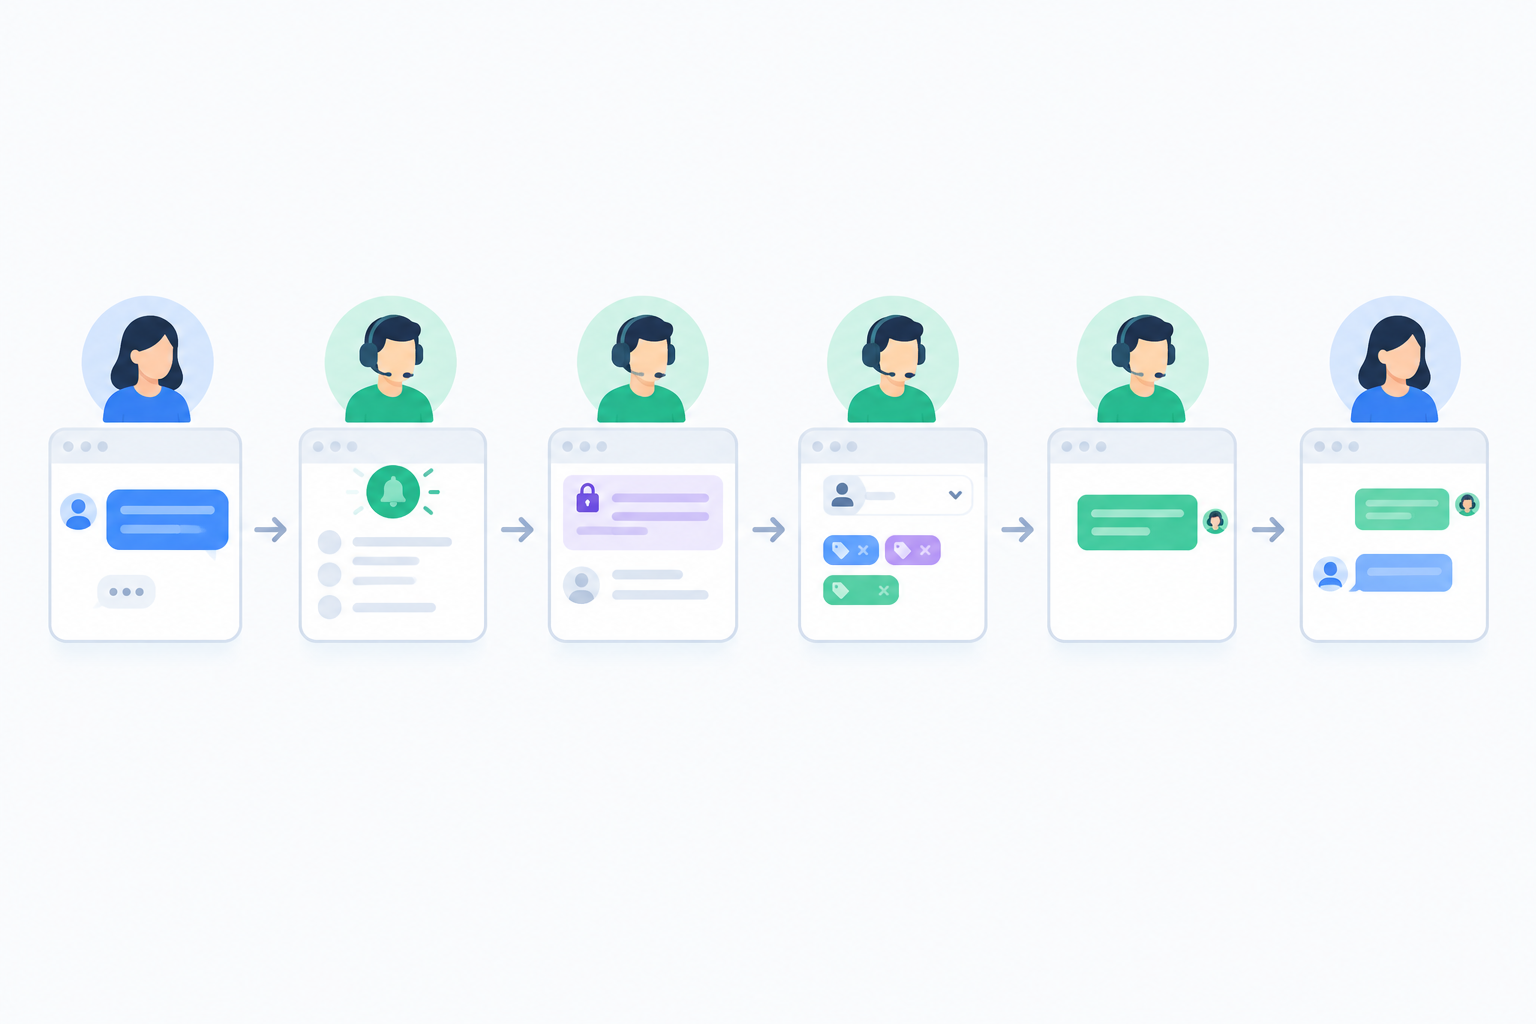
This is the step people skip, and it saves the most embarrassment. Run a small rehearsal with a colleague: one of you plays the customer, the other plays the agent. It takes about twenty minutes, and it feels a bit silly for the first two.
- Start a chat from the widget. Use your phone for this one, not your laptop. Many of your real visitors will be on mobile.
- Reply from the inbox, then try replying from the mobile app too, so you know it works from both.
- Send an email ticket to your support address and watch it arrive.
- Add an internal note, assign it to a colleague and tag it. Run the full workflow once.
- Try an out-of-hours scenario. What does your greeting say at 9pm on a Sunday? If it promises a reply within minutes, that's a promise you can't keep. An honest offline message, ideally pointing to your support email, goes a long way.
- Time the whole journey. What does the customer see? What does the agent see? How long did it take?
Sonny also has an optional AI copilot that can be trained on your company docs. Check the current feature details before relying on it. Personally, I'd get the human basics working first, then look at where the repeated questions are.
Live Chat Setup Test Checklist
Copy this into a shared doc and let the team tick things off:
- Widget appears on desktop and mobile
- Chat started from a phone is received and answered
- Test email arrives as a ticket
- Reply reaches the customer with the right sender name
- Internal note, assignment and tag all work
- Offline message reads honestly and clearly
- Everyone has the app or browser tab open
End of Day: Plan the Rest of Your Free Trial
Your setup is done, and you've got about six days of trial left. I'd treat them as a pilot, not a demo. A demo is where you poke at features. A pilot is where you run real conversations and learn something.
A light plan is all you need:
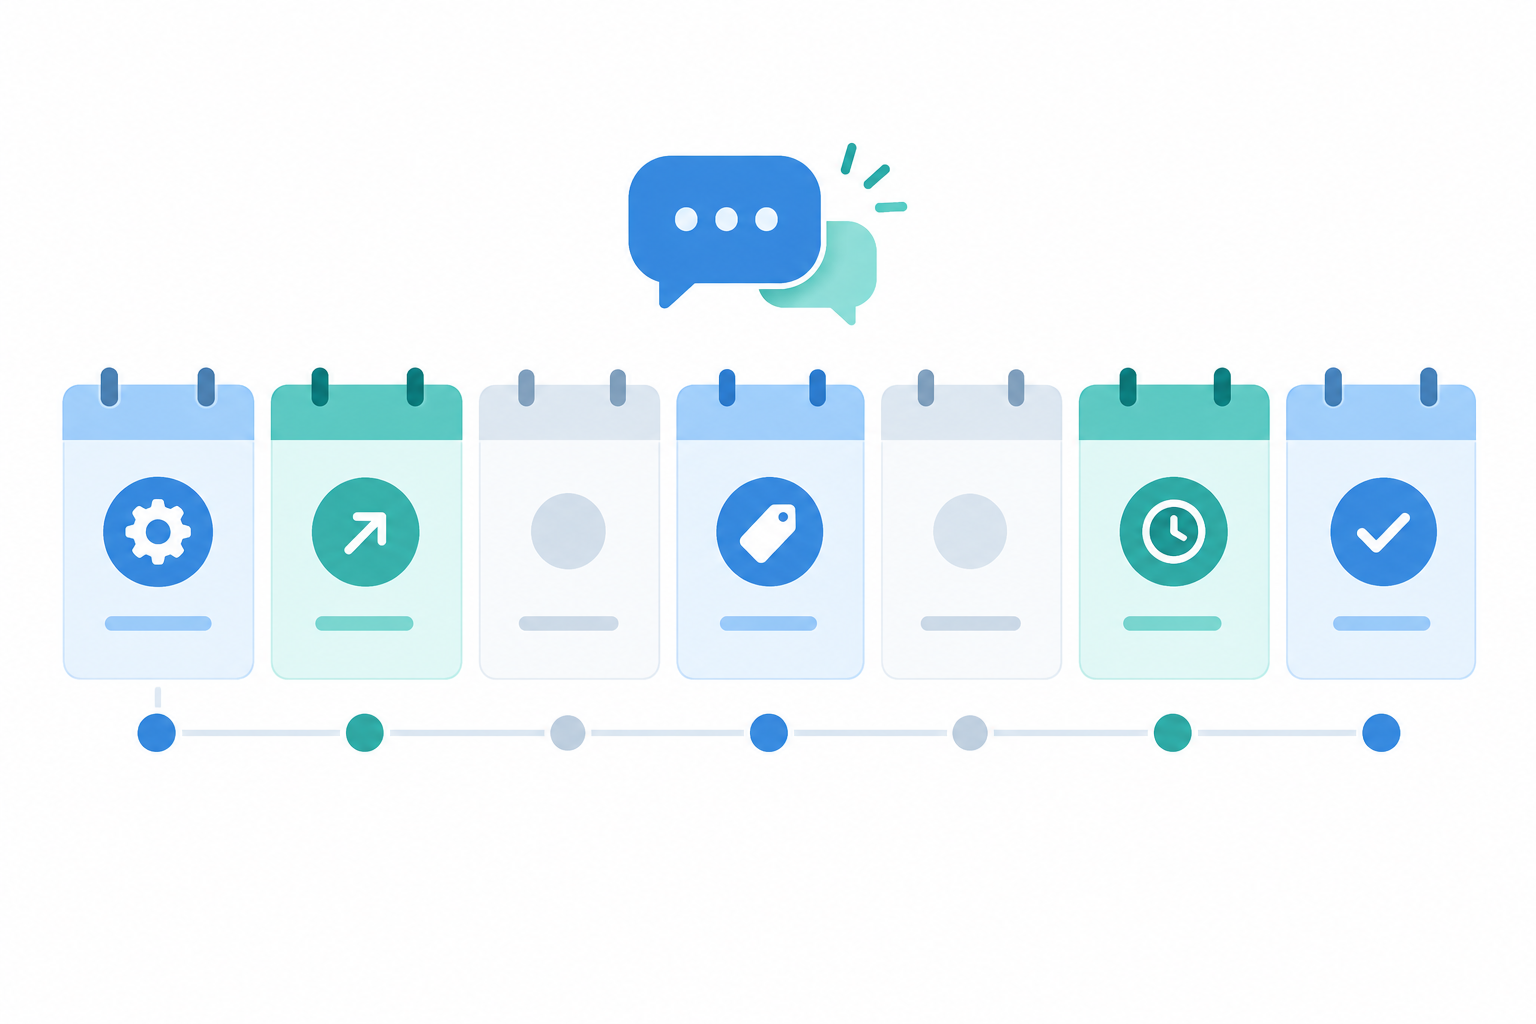
- Day two: soft launch. Put the widget live on a few key pages rather than the whole site. Pricing, a demo page or checkout are the best places to start, because that's where a quick answer is most likely to help.
- Midweek: review your tags and your response times. Are the tags doing their job? Are any conversations slipping through?
- Late in the week: look at what you've learned and decide.
What to Measure During Your Live Chat Trial
Resist the temptation to track everything. Three numbers are plenty:
- First response time: how long people wait for that first reply.
- Conversations per day: your rough demand.
- Busiest hours: this tells you when to make sure someone is watching.
Set one response-time goal your team can realistically hit. A modest goal you meet every day beats an ambitious one you miss by Wednesday. Assign one person to check the inbox at set intervals, tag conversations by topic, and share repeated questions with sales or product.
Try to record a baseline before you launch, even a rough one: how many support messages came in last week, and how quickly you replied. Then you've got something real to compare against.
Decide What to Do at the End of the Trial
At the end of the trial you've got two simple options: continue on a paid plan, or stop. Before you decide, confirm on Sonny's pricing page what happens when the trial ends, including whether anything needs cancelling, so there are no surprises. Either way, you'll be deciding based on a week of real use rather than a sales pitch.
Common Live Chat Setup Mistakes and Easy Fixes
Everyone makes a few of these. Here's what to watch for.
- Putting the widget on every page before you can staff it. Start with high-intent pages and expand once you know your capacity.
- Over-engineering tags and automation. Five to eight tags and a couple of filters are plenty for week one.
- Forgetting to tell the team where conversations now live. Say it out loud, put it in Slack, and repeat the 'if a customer asks, it lives in the inbox' rule.
- Leaving the greeting generic. 'How can we help?' is fine, but adding when people can expect a reply is better.
- Skipping test conversations. Finding a bug in front of a real customer is much more stressful than finding it in front of a colleague.
None of these are permanent. You can change anything during the trial.
Frequently Asked Questions About Live Chat Setup
What should I set up first?
Start with your account and the live chat widget, since it's quick and gives you something visible straight away. Then forward your support email so chats and emails land in the same shared inbox, and invite your team after that.
Can I trial Sonny without a credit card?
Yes, the 7-day free trial is offered without card details at sign-up. Check the trial page for the current terms.
How do I forward my support email?
In your email provider's settings, set up forwarding from your support address to the inbox address Sonny gives you, confirm the verification if prompted, then send a test email to check it arrives as a ticket. The exact steps depend on your provider and mailbox type, so follow their current help pages too.
How do I get my team using it?
Invite everyone who touches customer conversations, agree one simple rule (customer questions live in the inbox), and run a short walkthrough.
Do I need a developer to install the live chat widget?
Not usually. Installing the widget typically means pasting a small snippet into your site or theme settings, which many non-technical founders can do themselves. If your site is more complex, a developer can do it in a few minutes.
Is a free trial long enough to judge whether it works?
Seven days is enough to run real conversations, see your response times and find out whether your team likes working in a shared inbox, especially if you launch the widget on day one or two.
Ready to Start Your Live Chat Setup?
If you've read this far, you probably have a Priya-style tangle of inboxes somewhere in your business. The fastest way to untangle it is to start. Sign up for Sonny's free trial, install the widget in your first hour, and let the day unfold from there. By tonight, you could be answering your first customer chat from one tidy shared inbox.