
How to Install a Live Chat Widget in Under 5 Minutes — Then Configure It Properly
Meta description: Learn how to install a live chat widget on your UK startup’s website in around five minutes, then configure branding, routing, team access and testing so it actually works.
The quick answer: getting a live chat widget’s code onto your website takes about five minutes if you already have admin access to your site and a spare coffee break. Sign up, copy one snippet, paste it in, and the chat bubble appears. That part really is that fast.
Making it useful — writing a greeting that sounds like you, setting up routing so chats don’t get missed, inviting your team, and checking it works on mobile — takes another fifteen to thirty minutes on top. So here’s the honest two-part promise:
- 5 minutes: account created, live chat widget installed, bubble visible on your site
- 15–30 minutes: branding, routing, team access, and a proper test run
Both halves matter. A visible widget with nobody watching it is arguably worse than no widget at all, so I’d rather give you the full timeline than let you assume you’re done after step one.
Tools built for early-stage teams, like Sonny, are designed to remove the friction around that second half too — no sales call, no configuration wizard, and no onboarding specialist walking you through a shared calendar link. But rather than take my word for it, let’s walk through exactly what happens at each step, including where things can genuinely slow down depending on your site setup.
Why Setup Speed Matters for Early-Stage Teams
Here’s something I’ve noticed talking to early-stage founders: the tools that win aren’t always the most powerful ones. They’re the ones you can get running before you lose momentum on something else.
Think about what happens when a visitor lands on your site with a question and there’s no way to reach you. Some will email. Some will just leave without telling you why. For an early-stage company still figuring out messaging and pricing, those unanswered questions are also missed signal — you don’t get to see the objections and confusion that would help you improve your product page or pitch.
Cash-strapped teams also don’t have a spare afternoon for a discovery call just to get live chat installed. You’ve got a product to build, customers to onboard, and perhaps a fundraise to think about. A tool that needs an onboarding specialist to “walk you through setup” is asking for the one resource most startups genuinely don’t have: time.
That’s why I think of speed-to-value as a competitive advantage rather than a nice-to-have. Startups that get customer support infrastructure live quickly tend to catch more of those early conversations, respond faster, and build trust sooner — not because the tool is magic, but because it’s actually switched on.
Before You Install a Live Chat Widget: Quick Checklist
A few things will make this genuinely fast rather than frustratingly slow:
- Admin access to your website’s code, theme editor, or a “custom code” settings area
- An email address you can check immediately for account confirmation
- A rough idea of who on your team should be answering chats
- Ten to fifteen minutes when you won’t be interrupted
If any of those are missing — say, you don’t have admin access to your Shopify theme — the setup will still work, but you’ll need to loop in whoever does before you hit that five-minute mark.
Step 1: Create Your Live Chat Account
Getting started is refreshingly boring, in the best way. Here’s what it typically looks like:
- Sign up. Check the current trial length and card requirements on the provider’s pricing page before you assume anything — these details vary and change over time, and I’d rather send you to the source than repeat a figure that might be out of date by the time you read this. What generally matters is whether you can test the live chat software with real conversations before spending a single pound.
- Confirm your email and open your dashboard. No onboarding call gets scheduled automatically. You just get access.
- Check the pricing model before you invite people. If a provider offers flat-rate pricing rather than charging per seat, that removes the awkward spreadsheet exercise of working out how many logins you need before you’ve even tried the product. Confirm the current UK price, whether VAT is included, and any agent limits directly on the pricing page — UK pricing sometimes differs from US pricing on the same product.
That’s the whole first step. A few minutes, and you’re inside the platform, ready to move on to the live chat widget itself.
Step 2: Embed the Live Chat Widget Code
This is the part people assume will be technical. For most standard setups, it isn’t — but “most” is doing some work in that sentence, so let’s be specific about what changes depending on your platform.
- Copy the JavaScript snippet from your dashboard. It’s a single block of code generated automatically once you create your account.
- Follow your provider’s recommended placement first. Most live chat tools specify exactly where the snippet should go and whether it should load asynchronously — check your dashboard’s instructions before defaulting to a generic location. The table below covers the common patterns, but your provider’s own guidance takes priority if it differs:
| Platform | Where it usually goes | What you’ll need |
|---|---|---|
| Shopify | Theme code editor, theme.liquid, before </head> |
Admin access; some themes restrict code edits on certain plans |
| Webflow | Project Settings → Custom Code → Footer/Header code | Access to site settings; custom code may require a paid Webflow plan |
| WordPress | Theme editor, header.php, or a plugin like Insert Headers and Footers |
Admin login; a plugin avoids touching theme files directly |
| Custom-built site | Follow your provider’s specified location, typically before the closing </body> tag |
Developer or CMS access, depending on how the site is built |
- Check for cookie consent implications — but don’t treat this as a blanket rule. Whether you need to update your consent banner depends on what the specific widget does: which cookies it sets, whether it loads third-party scripts, and how your existing consent management tool categorises “functional” versus “marketing” scripts. For UK sites, this falls under ICO guidance on cookies and similar technologies. If you’re not sure, it’s worth a quick check with whoever manages your cookie policy, or the ICO’s own guidance, rather than assuming either way.
- No developer is required for many standard setups, provided you have the access listed above. If you’ve ever pasted Google Analytics tracking code into your site, you already have the skill needed here. If your theme or CMS restricts code edits, you may need a developer or a plugin workaround — that’s a permissions issue, not a difficulty issue.
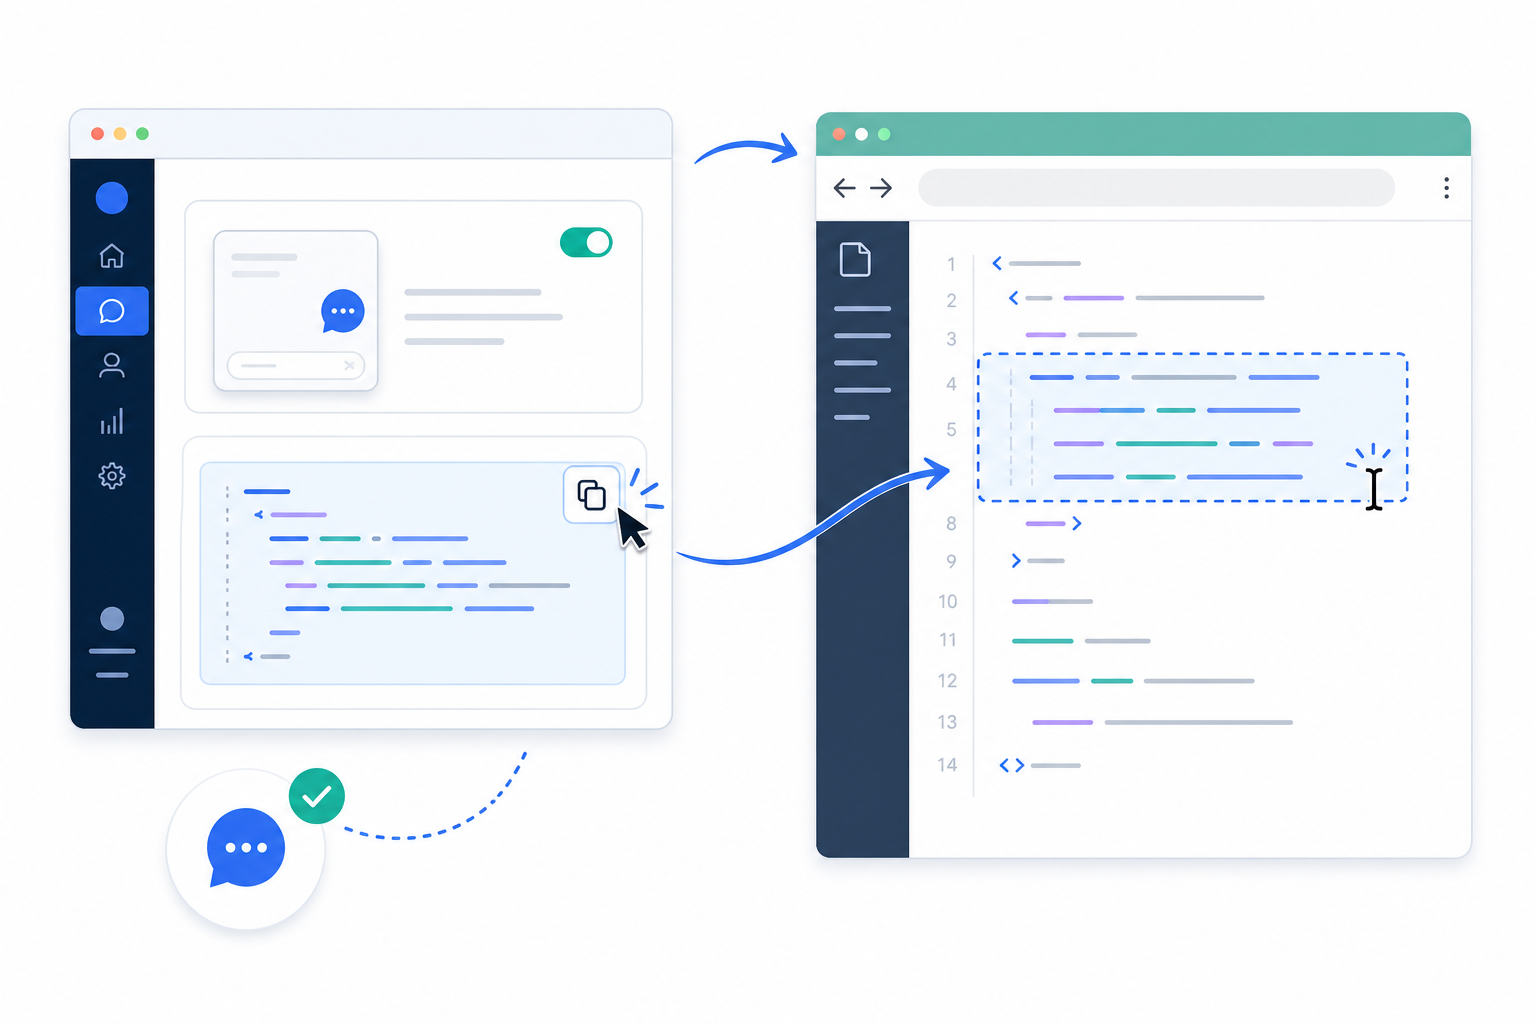
Once the snippet is live, refresh your website. You should see the chat bubble appear in the corner — that’s your checkpoint that the live chat installation worked.
If the bubble doesn’t appear, work through this before assuming something’s broken:
- Clear your browser cache or open the page in an incognito window — cached versions of your site can hide the new code for a while.
- Confirm you actually published or saved the theme or page changes, not just previewed them.
- Check whether a CDN or caching plugin is serving an old version of the page.
- Disable ad blockers or script blockers temporarily — some block chat widgets by default.
- Make sure you haven’t pasted the snippet twice, which can cause it to fail silently on some platforms.
- If you’re on a locked-down theme or plan, check whether code edits are restricted and need a developer or plugin.
That’s your live chat widget functioning on your actual site — assuming your platform allowed the code to load without restriction.
Step 3: Customise Your Chat Widget’s Appearance
Now for the more enjoyable part — making it feel like your brand rather than a generic chat box bolted onto your homepage.
This typically happens through a visual dashboard, with no CSS required:
- Widget colour: Match it to your brand palette, but check contrast against your background. A quick way to test this: if you can read the widget text easily while squinting slightly, you’re probably fine — if not, adjust it.
- Custom greeting message: Swap the default “Hi there!” for something with actual personality. Something like “Hey, we’re a two-person team, so replies might take a few minutes — ask away!” sets honest expectations and sounds human.
- Team photos or logo: A real face reassures visitors there’s an actual human behind the chat, not just a bot pretending to care.
- Widget position: Bottom right is the default most people expect, but you’re not locked into it.
- Mobile appearance: Test this on an actual phone, not just your browser’s mobile preview. A widget that looks fine on desktop can easily cover a checkout button, cookie consent banner, or key call to action on smaller screens.
- Keyboard and screen reader access: Check that the widget can be opened and closed without a mouse — tab to it and press Enter. If that doesn’t work, flag it with your provider.
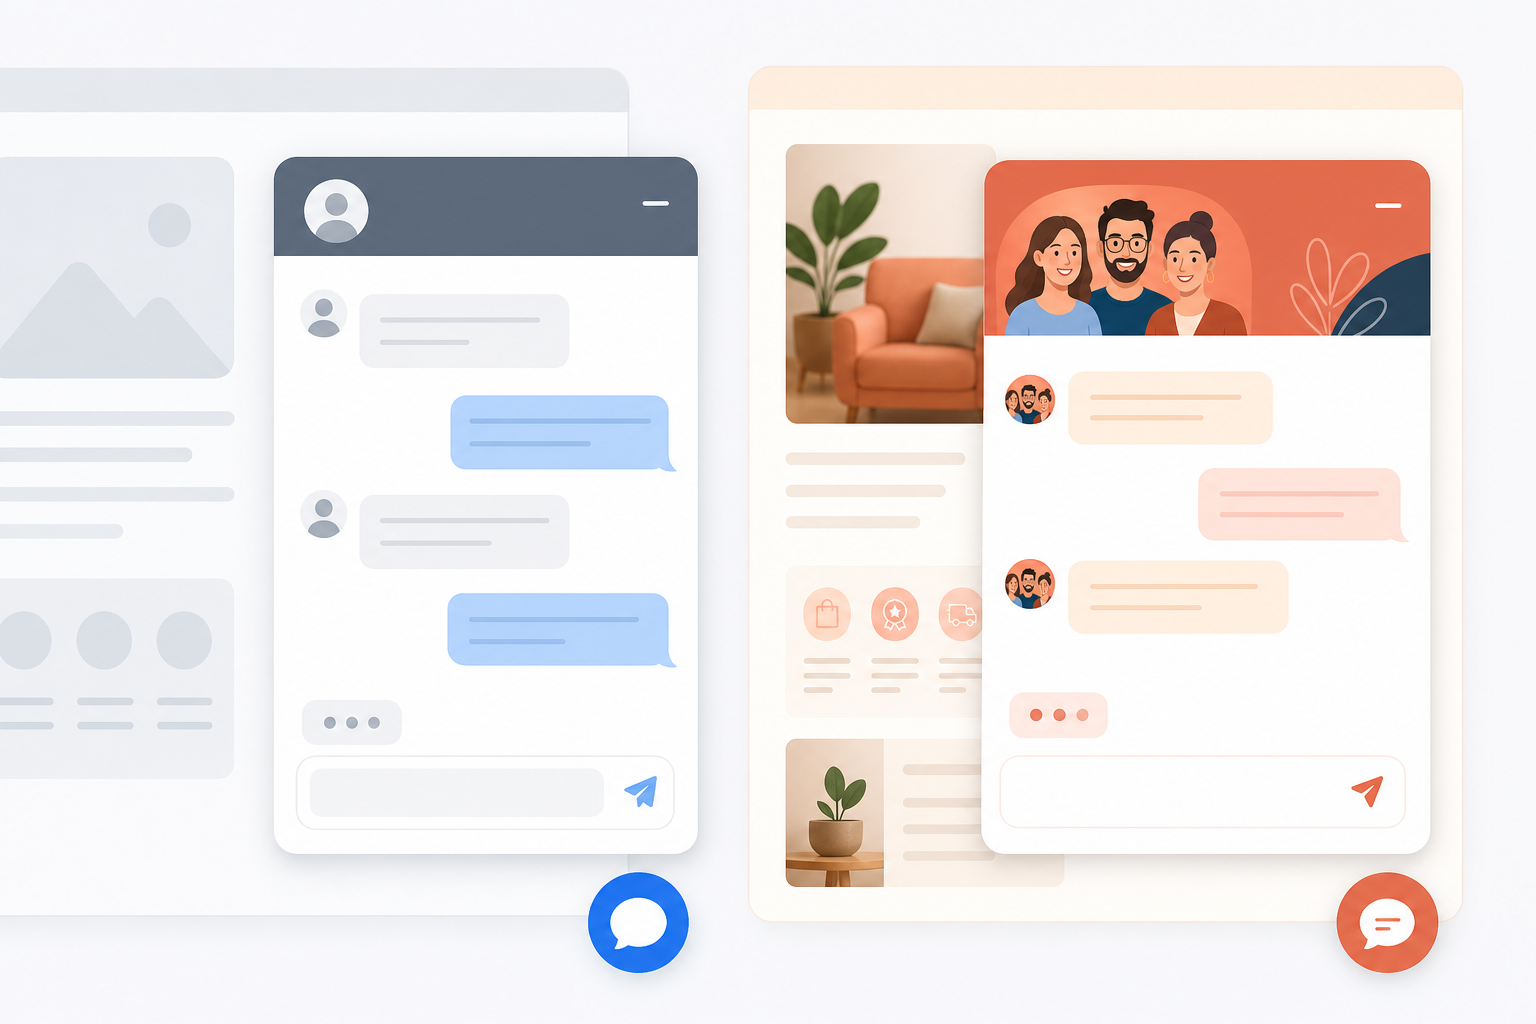
I’d suggest spending ten to fifteen minutes here, not much more. The goal isn’t pixel-perfect design; it’s making the widget feel intentional rather than default. A customised greeting alone does a lot of that work.
Step 4: Route Your First Live Chat Conversations
With the widget live and looking the part, the next question is: where do these conversations actually go, and who’s responsible for answering them? Not every tool includes every feature below — check your specific plan rather than assuming.
- Connect the widget to a shared inbox, if your plan includes one. This keeps chats from getting lost alongside your email tickets. Confirm this is included on your current tier rather than assuming — some tools gate unified inboxes behind a higher plan.
- Set basic routing rules. Round-robin distribution is the simplest option; routing by tag or topic works better once you have people who specialise in, say, billing versus technical questions.
- Decide what happens when nobody’s online. This is easy to skip and important not to. Set an offline message along the lines of “We’re not online right now, but we typically reply within a few hours during UK business hours (9am–6pm) — leave us a note and we’ll get back to you.” Something specific like that beats a bubble that never answers.
- Invite your team as agents. If your pricing model doesn’t charge per seat, add whoever needs access — a co-founder, support hire, or part-time contractor — without recalculating your bill each time.
- Use internal notes for tricky questions, if your tool supports them, so a teammate can weigh in privately before the customer sees a single, coordinated answer.
- Check how live chat and email sit together in your specific tool. Some providers offer one unified view; others keep channels separate. Confirm this before you rely on it operationally, rather than assuming it works a particular way.
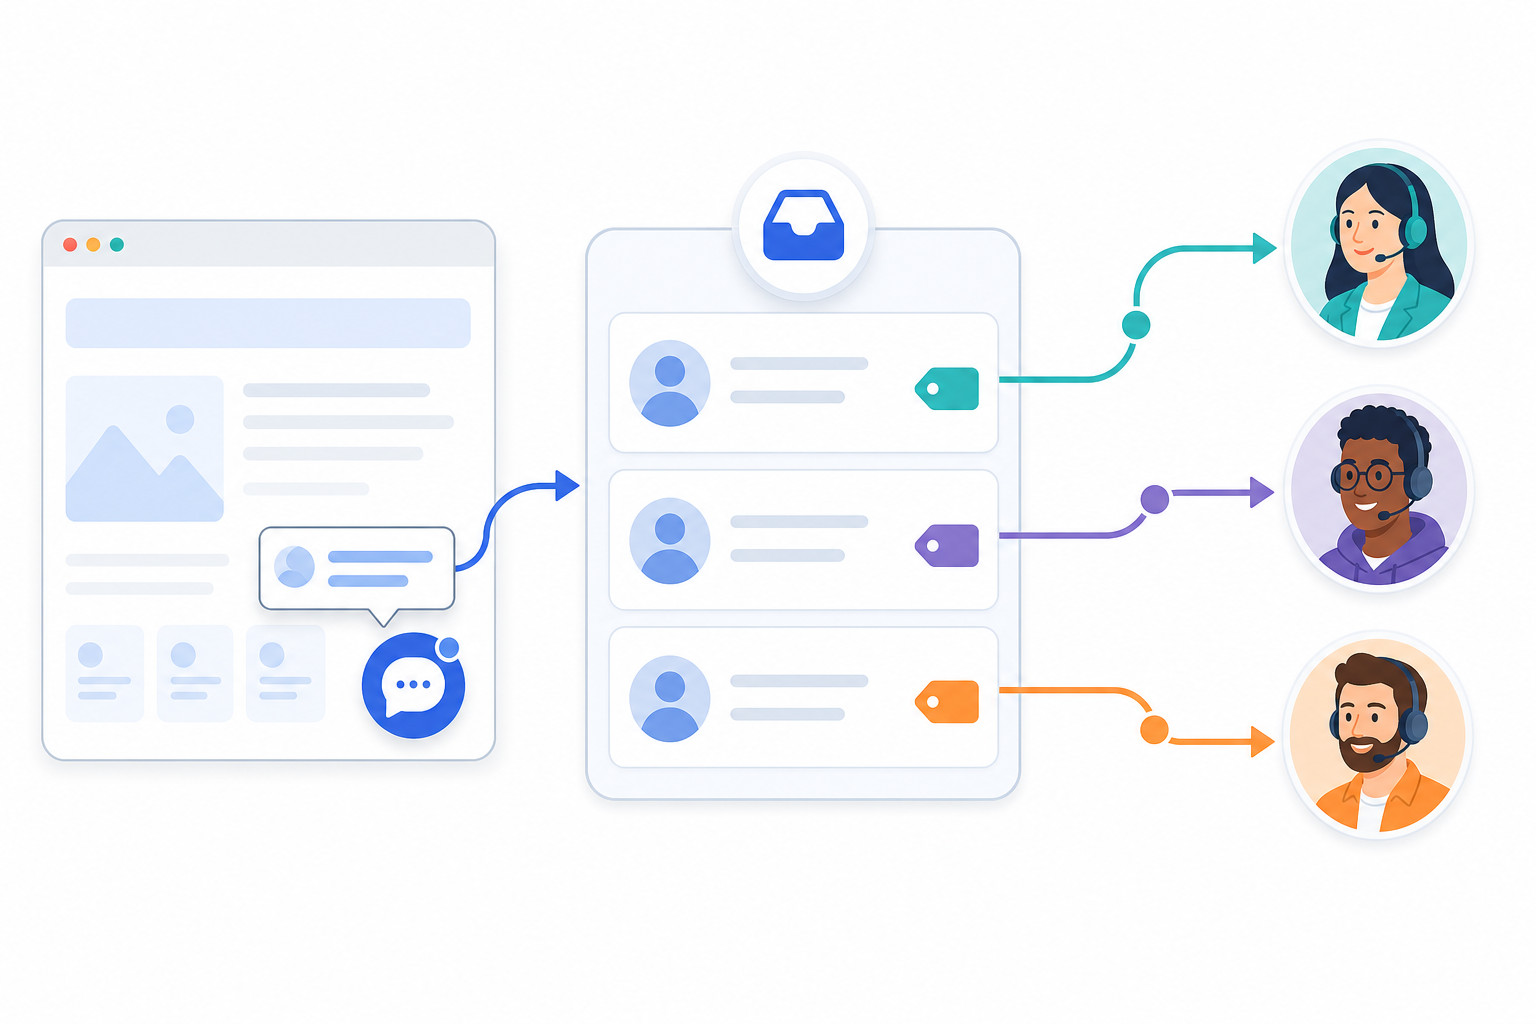
This is where the help desk software side of things starts to earn its keep. You’re not just running a chat widget in isolation — you’re managing team collaboration and response ownership from one place, which matters more as your conversation volume grows.
Common Live Chat Setup Mistakes to Avoid
Even with a fast setup, a few small missteps can undercut the experience. Here’s what I’d watch for:
- Skipping the mobile check. Test the widget on your phone before calling it done. It can block navigation or a checkout button in ways that aren’t obvious on desktop.
- Leaving the default greeting in place. It takes thirty seconds to write something on-brand, and it changes the first impression more than you’d expect.
- Not assigning routing rules or an offline message. Without them, chats can sit unanswered because everyone assumes someone else has them — or visitors get a bubble with no one behind it after hours.
- Launching chat with no clear owner. Someone on your team needs to be responsible for checking it, at least until volume justifies a rota.
- Ignoring your trial’s reporting features, if available. During your first week, keep an eye on a few simple numbers: how long it takes to send a first reply, what percentage of chats go unanswered, and roughly how many visitors are starting a chat at all. These benchmarks vary a lot depending on your traffic and coverage hours, so don’t panic over the raw numbers — just watch the trend.
- Overcomplicating things early. It’s tempting to dive into AI-assisted features or automation right away, if your plan includes them. I’d get comfortable with chat, routing, and the shared inbox first before layering on anything more advanced.
None of these are dealbreakers, but avoiding them means your first week of live chat reflects the experience you’re aiming for — not a bubble that quietly disappoints people.
Frequently Asked Questions About Live Chat Widgets
How long does it really take to install a live chat widget?
For most teams with admin access to their site, the code itself can go live in under five minutes — literally the time it takes to copy a snippet and paste it in. Fully configuring routing, branding, and team access usually takes another fifteen to thirty minutes. If your site platform restricts code edits or requires developer access, the installation step alone could take longer.
Do I need a developer to add live chat to my site?
Not for most standard setups on platforms such as WordPress, Webflow, or Shopify, provided you have admin or theme-editing access. It’s a similar skill level to adding a Google Analytics tracking code. If your theme restricts custom code, or you’re on a locked-down plan, you may need developer help or a plugin workaround.
Can I customise the chat widget without coding?
Yes, typically — colour, greeting message, team photos, and position are usually adjustable through a visual dashboard, with no CSS or JavaScript required beyond the initial embed.
What if the live chat widget doesn’t appear after I’ve pasted the code?
Start with the basics: clear your cache or check in an incognito window, confirm you actually published the change rather than just saving a draft, and check for ad or script blockers. If none of that works, it’s usually a permissions or plan restriction rather than a mistake on your part — your provider’s support team can usually spot it quickly.
Is a fast setup too good to be true for something as important as customer support?
A quick install doesn’t mean limited functionality, but it also doesn’t mean everything is configured. Getting the widget live is the easy part; deciding who answers chats, when, and how is the part worth taking a bit more care over.
Getting Started With Your Live Chat Widget
Installing a live chat widget shouldn’t feel like a project, but it also shouldn’t feel like flipping a switch and walking away. Here’s the short version:
- Create your account and confirm the current trial terms on the pricing page.
- Paste the snippet into your site following your provider’s placement instructions, then refresh and check for the bubble.
- Send yourself a test chat from a different device or incognito window to confirm messages actually arrive before you invite the rest of your team.
Once those three things work, move on to branding, routing, and team invites at your own pace. That combination — fast installation and thoughtful configuration — is what actually makes the five-minute promise worth something.
If you’re a UK-based startup weighing up customer support options, it’s worth trying this yourself rather than taking anyone’s word for it. Start a free trial of a tool like Sonny, paste the snippet, send that first test chat, and judge from there whether the rest of the setup fits how your team actually works.